Diy Round fabric laundry basket
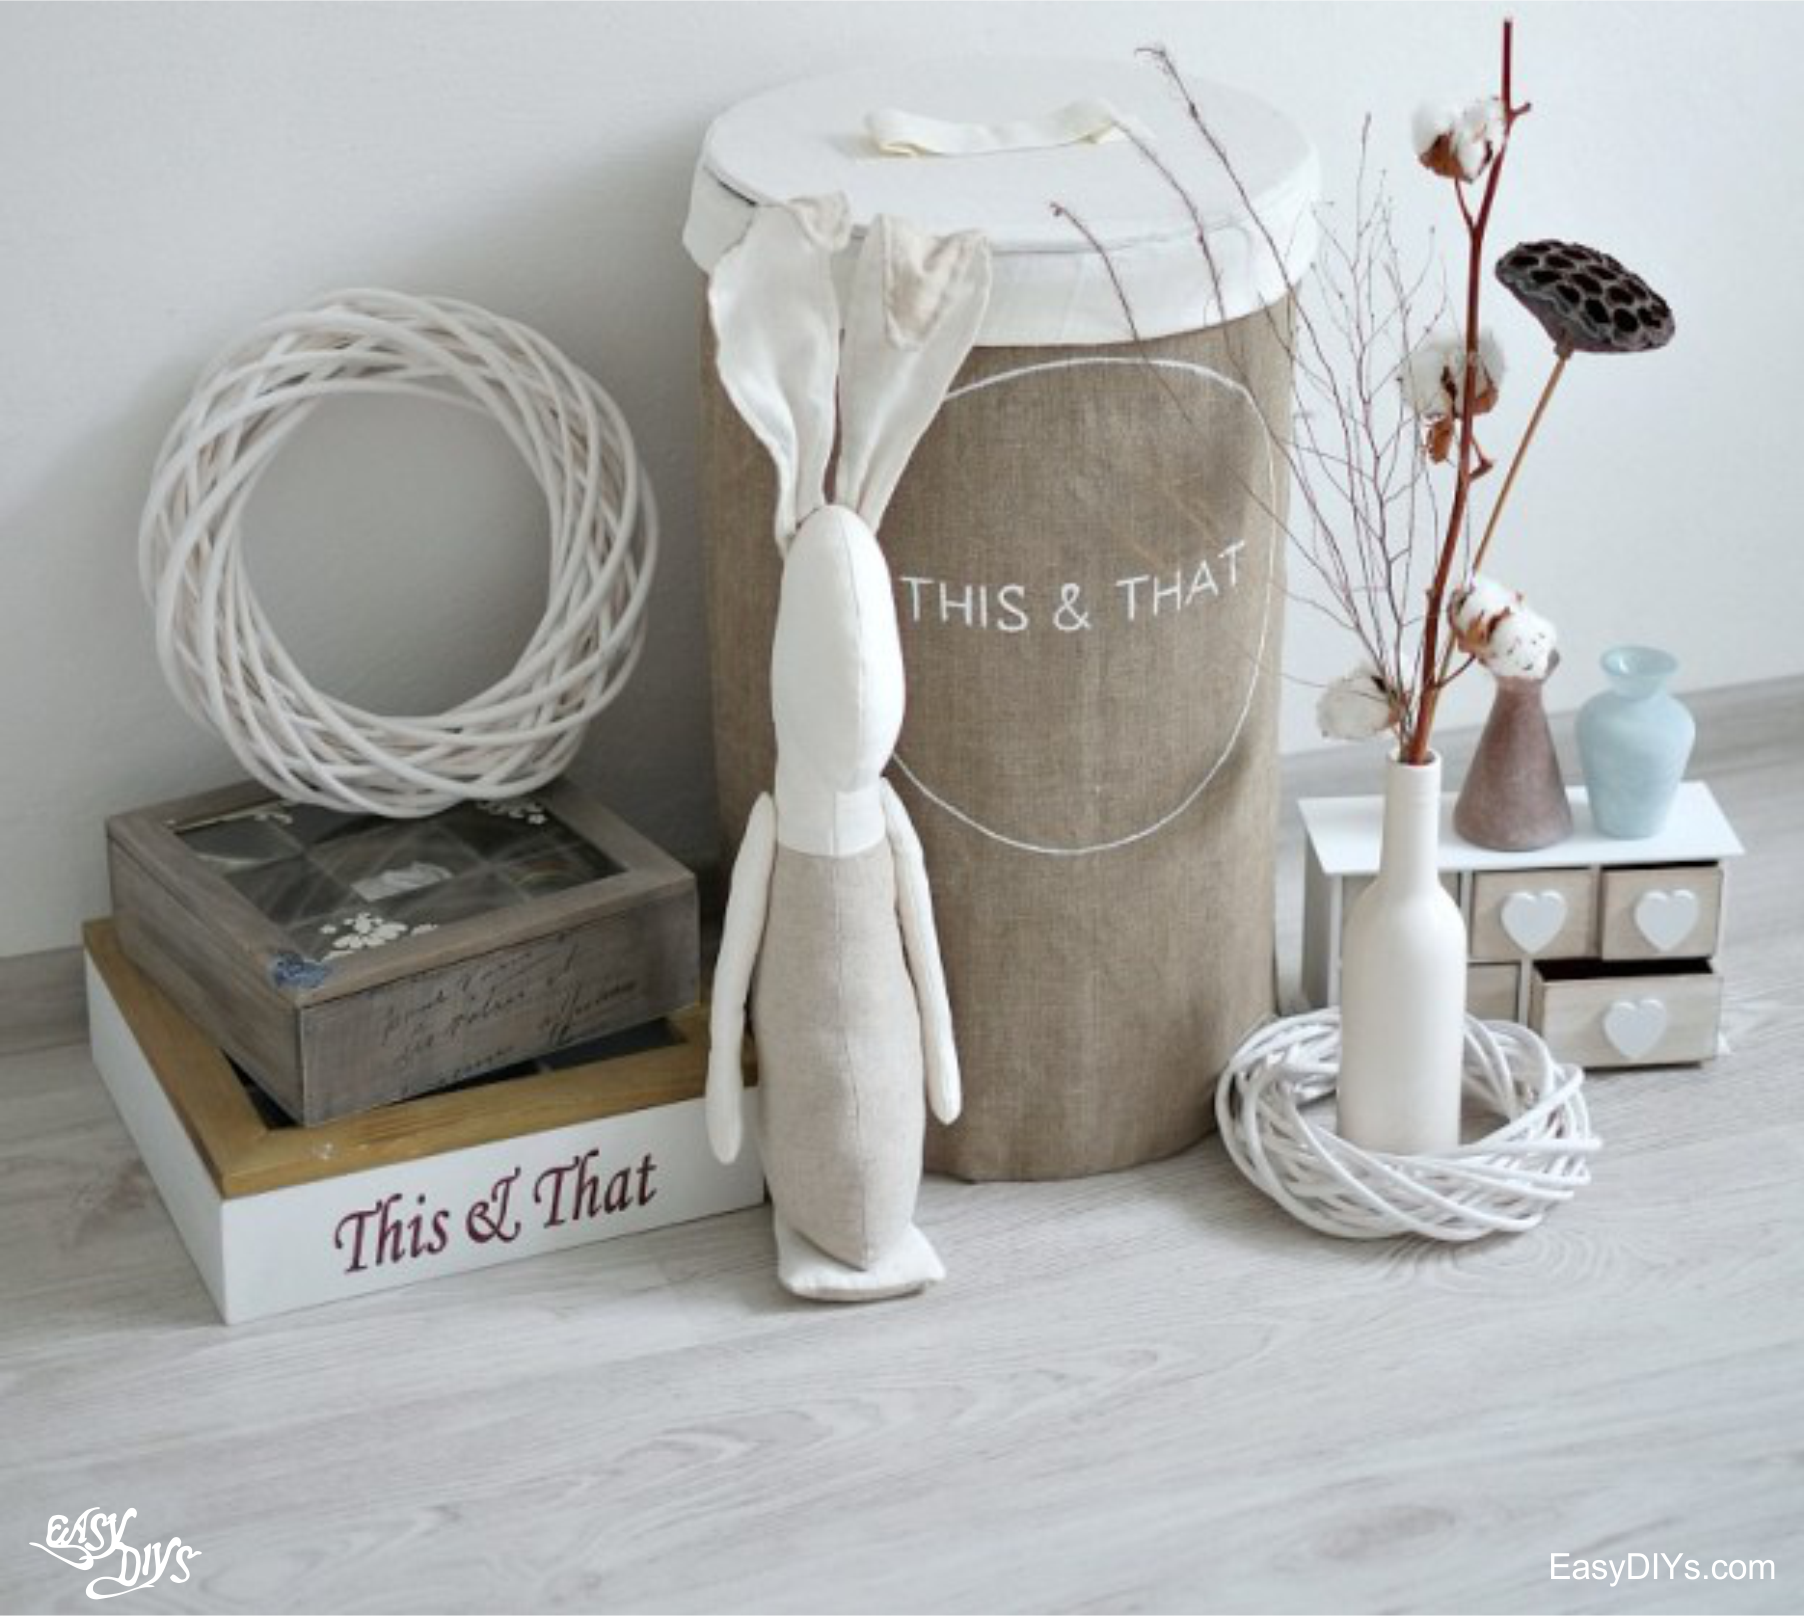
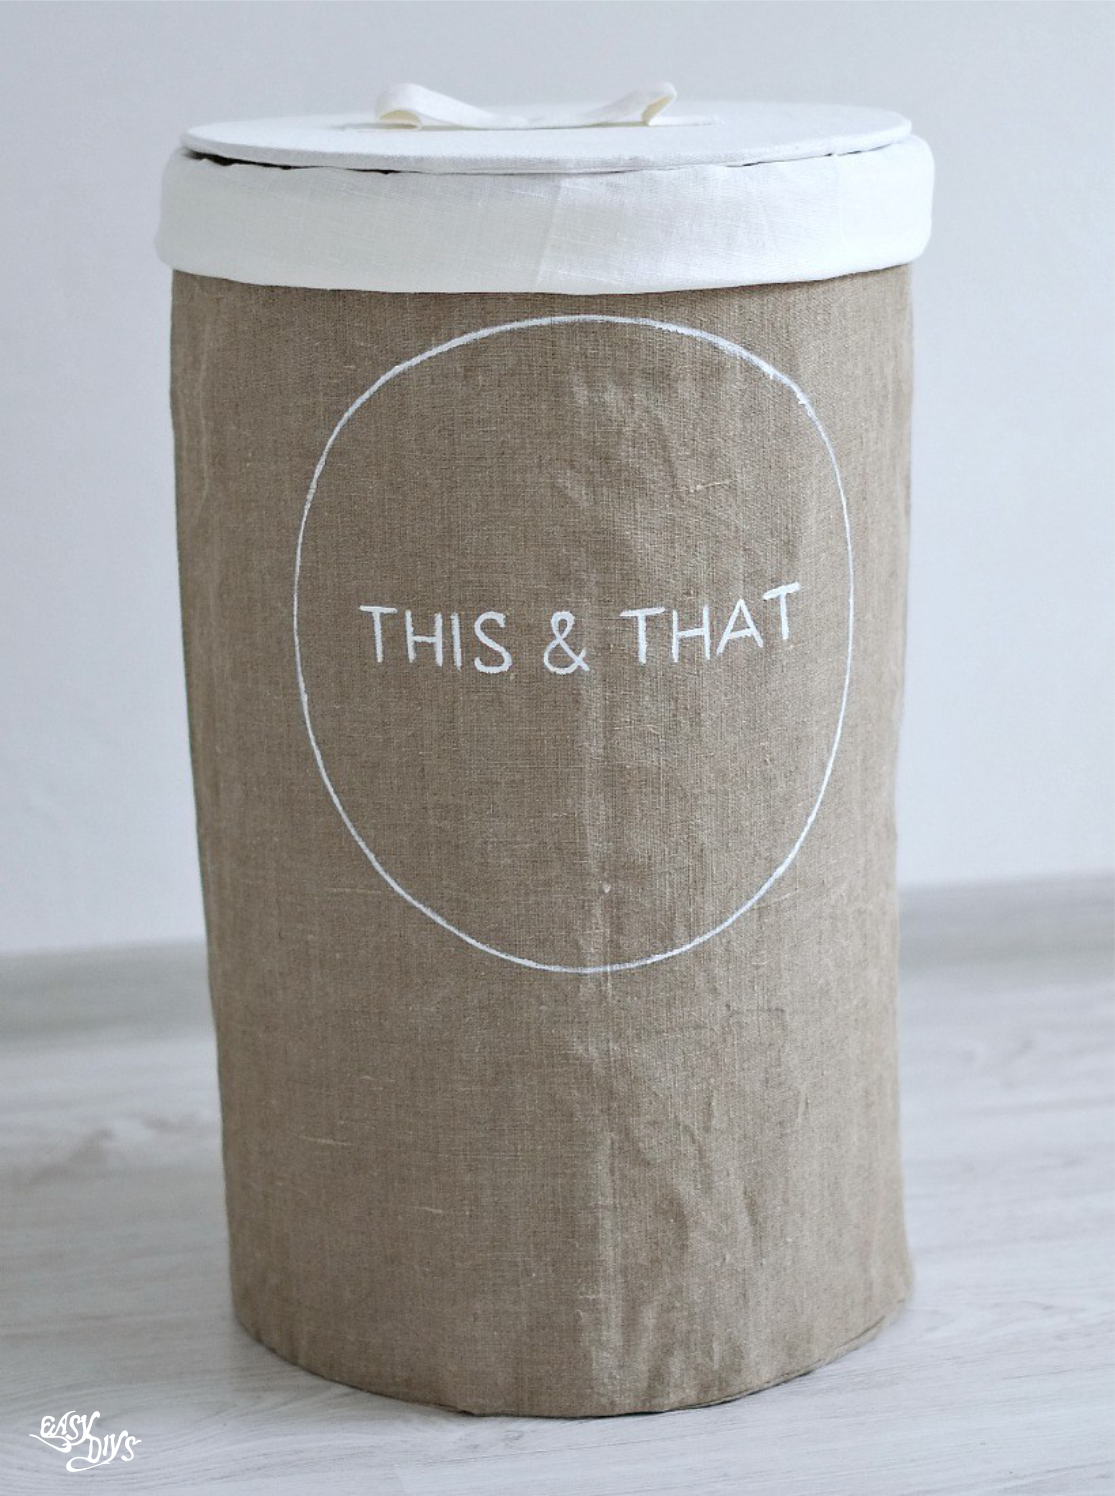
YOU WILL NEED:
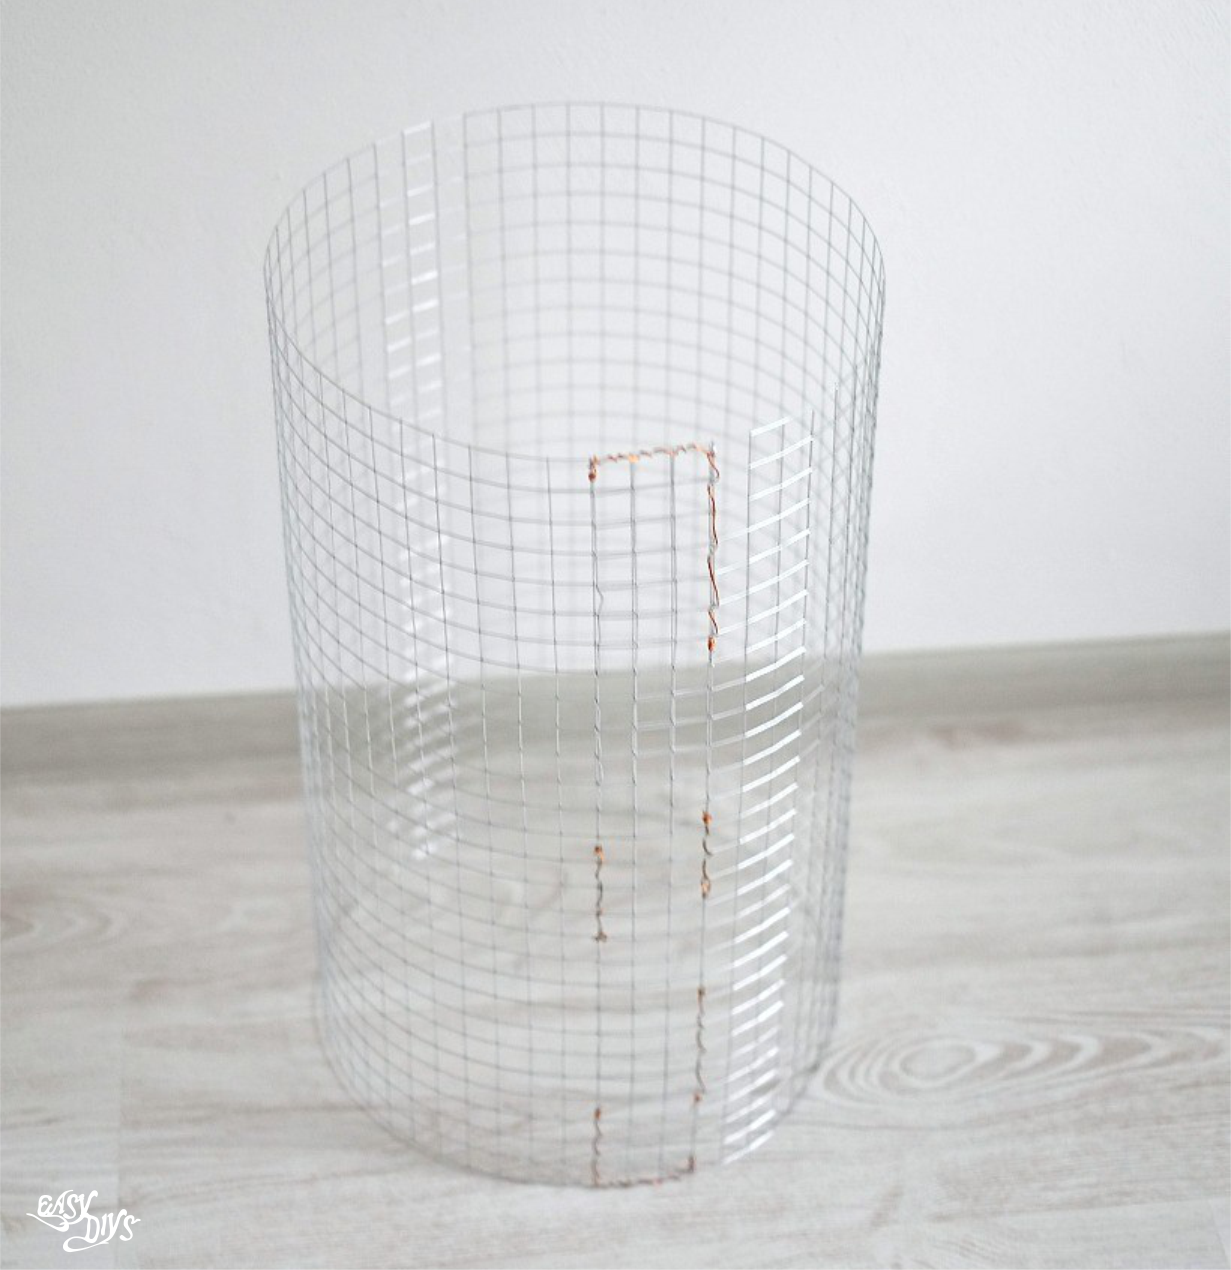
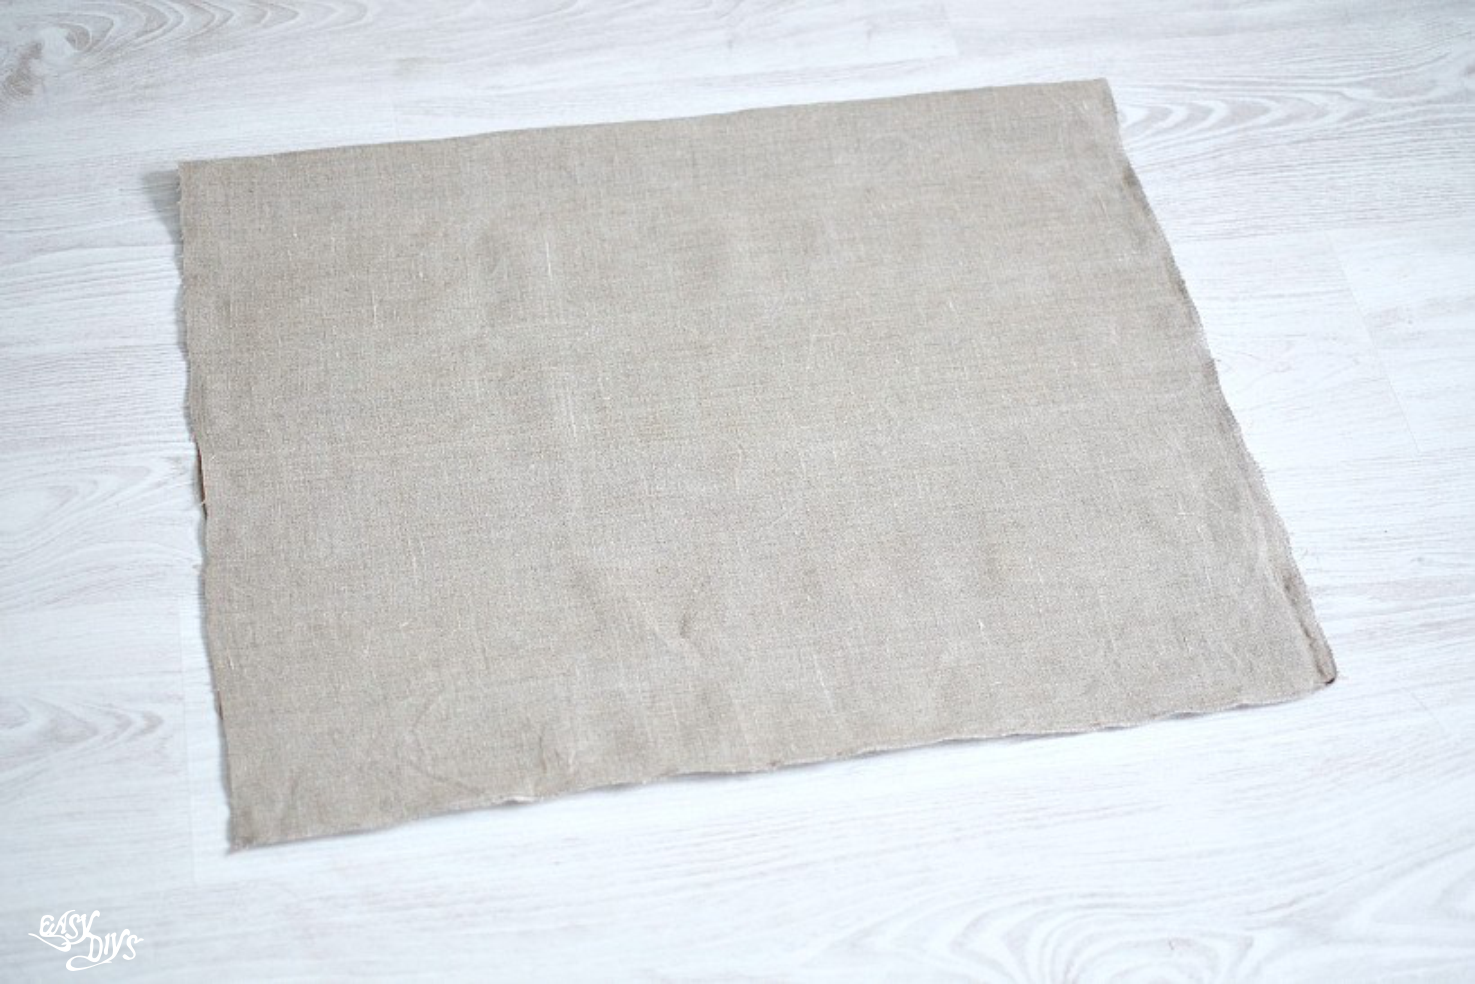
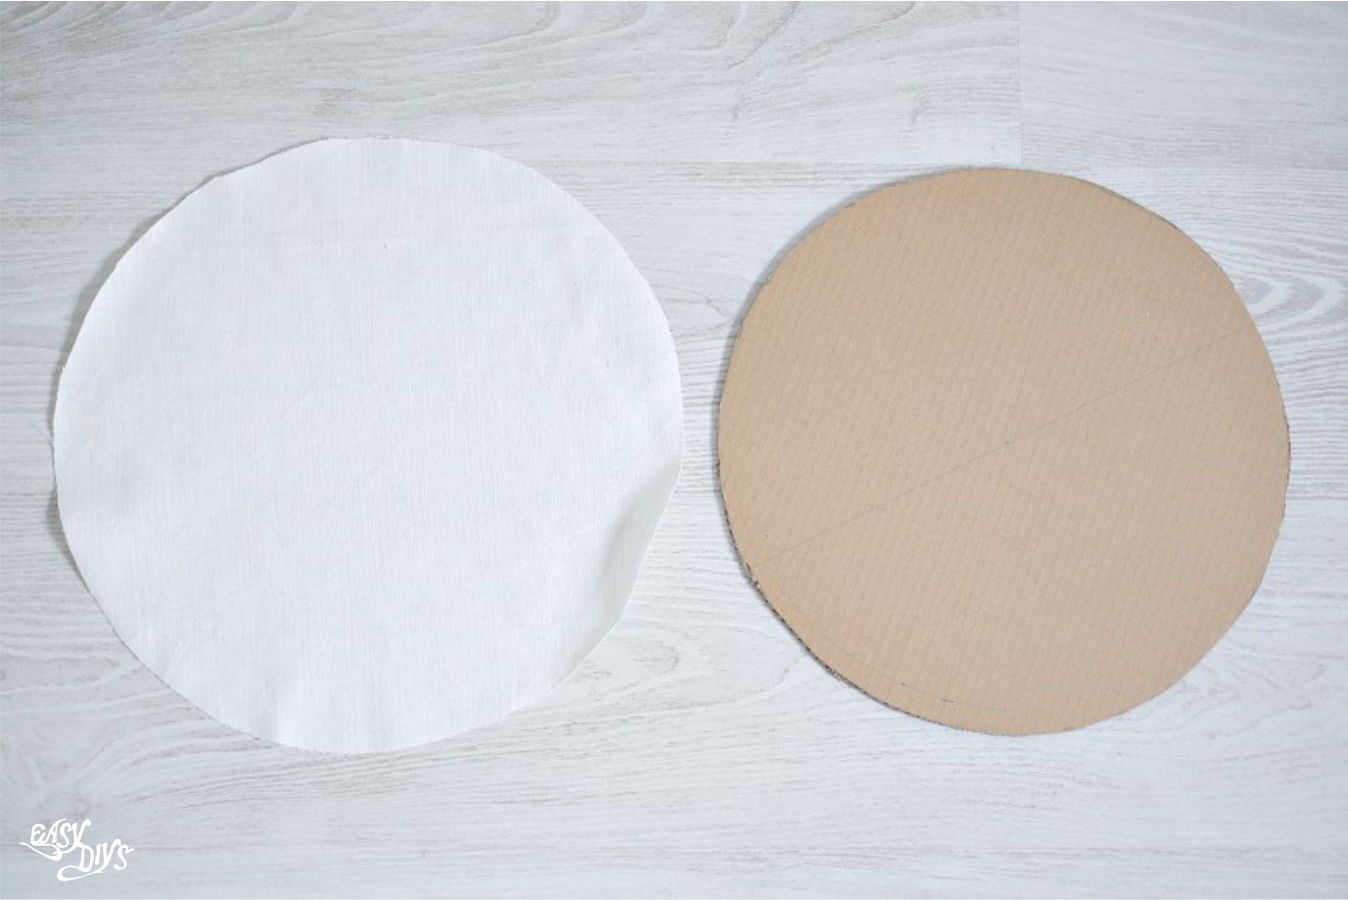
Metal mesh (cell 2 x 2 cm) – 110 cm x 55 cm Gray linen or burlap (length) – 102 cm x 62 cm + circle 32 cm. diameter. White linen (length) – 102 cm/65 cm + circle 32 cm. diameter. Cardboard circles 32 cm. diameter. 2 White linen circles 32 cm. diameter. Sewing machine Threads and a needle Nippers Wire Pliers Scissors Fabric ink pen Sewing materials Stencil with an inscriptionINSTRUCTIONS:
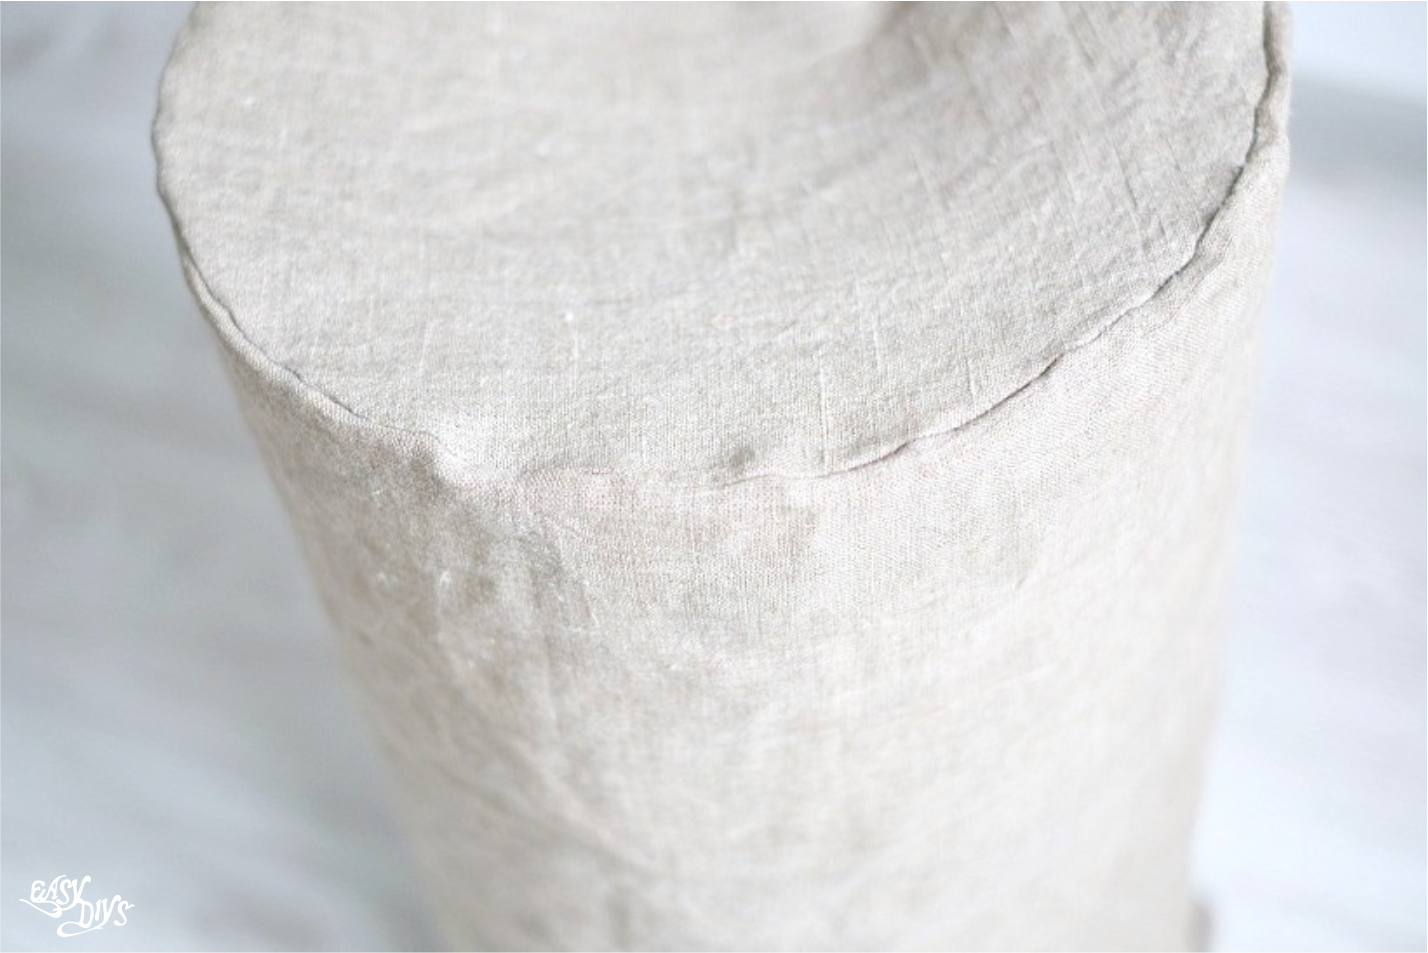
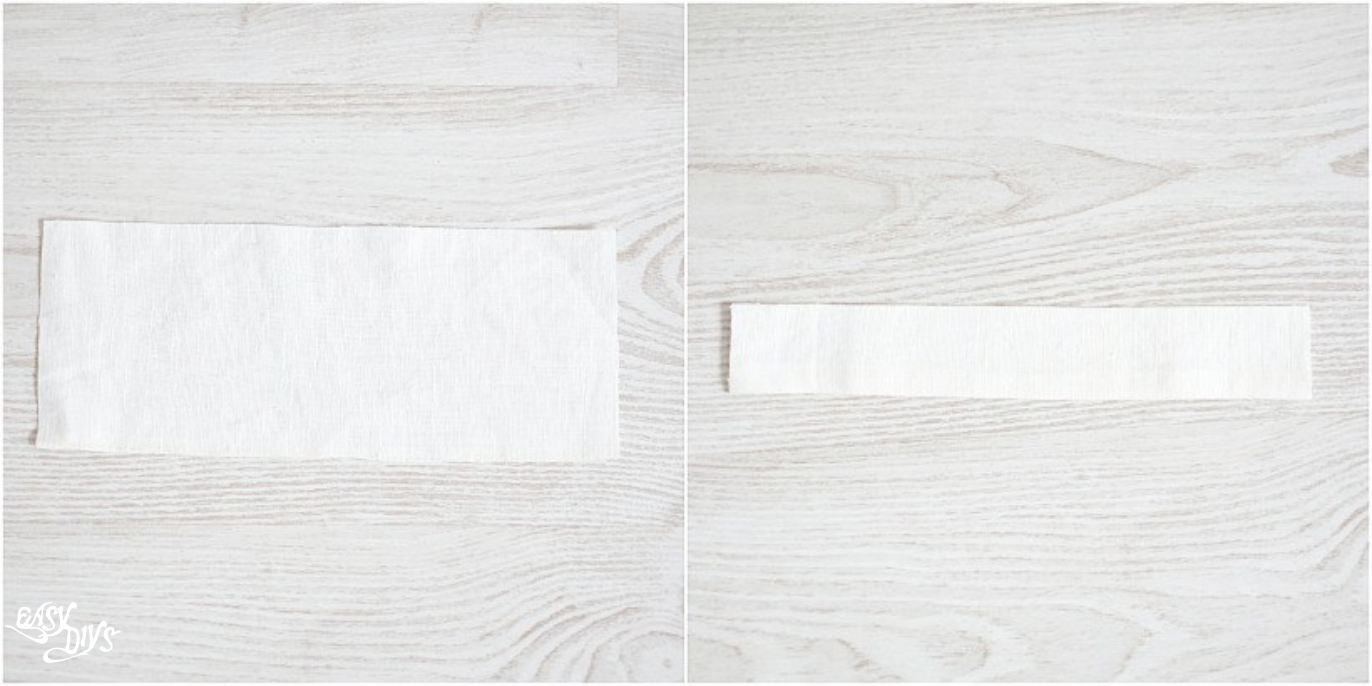
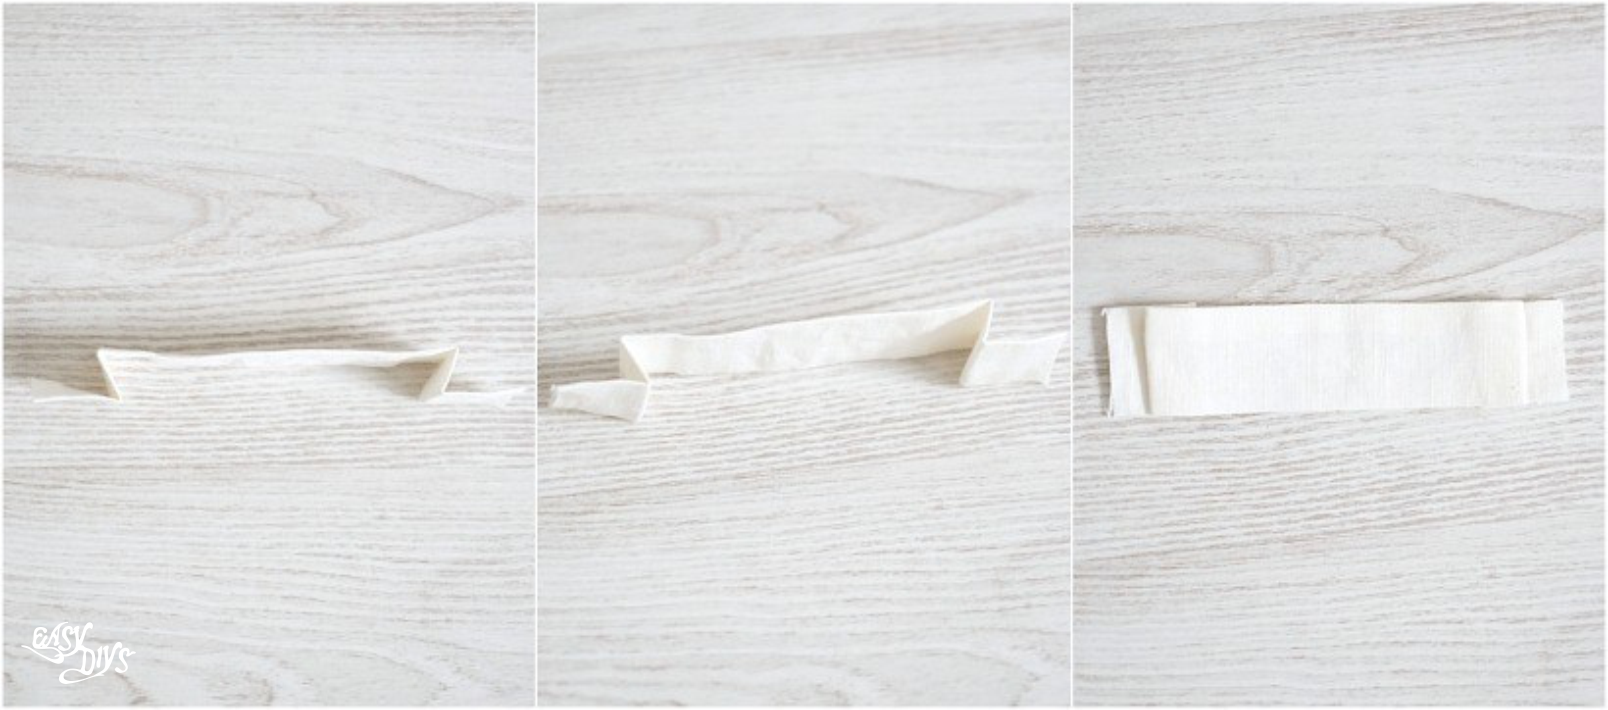
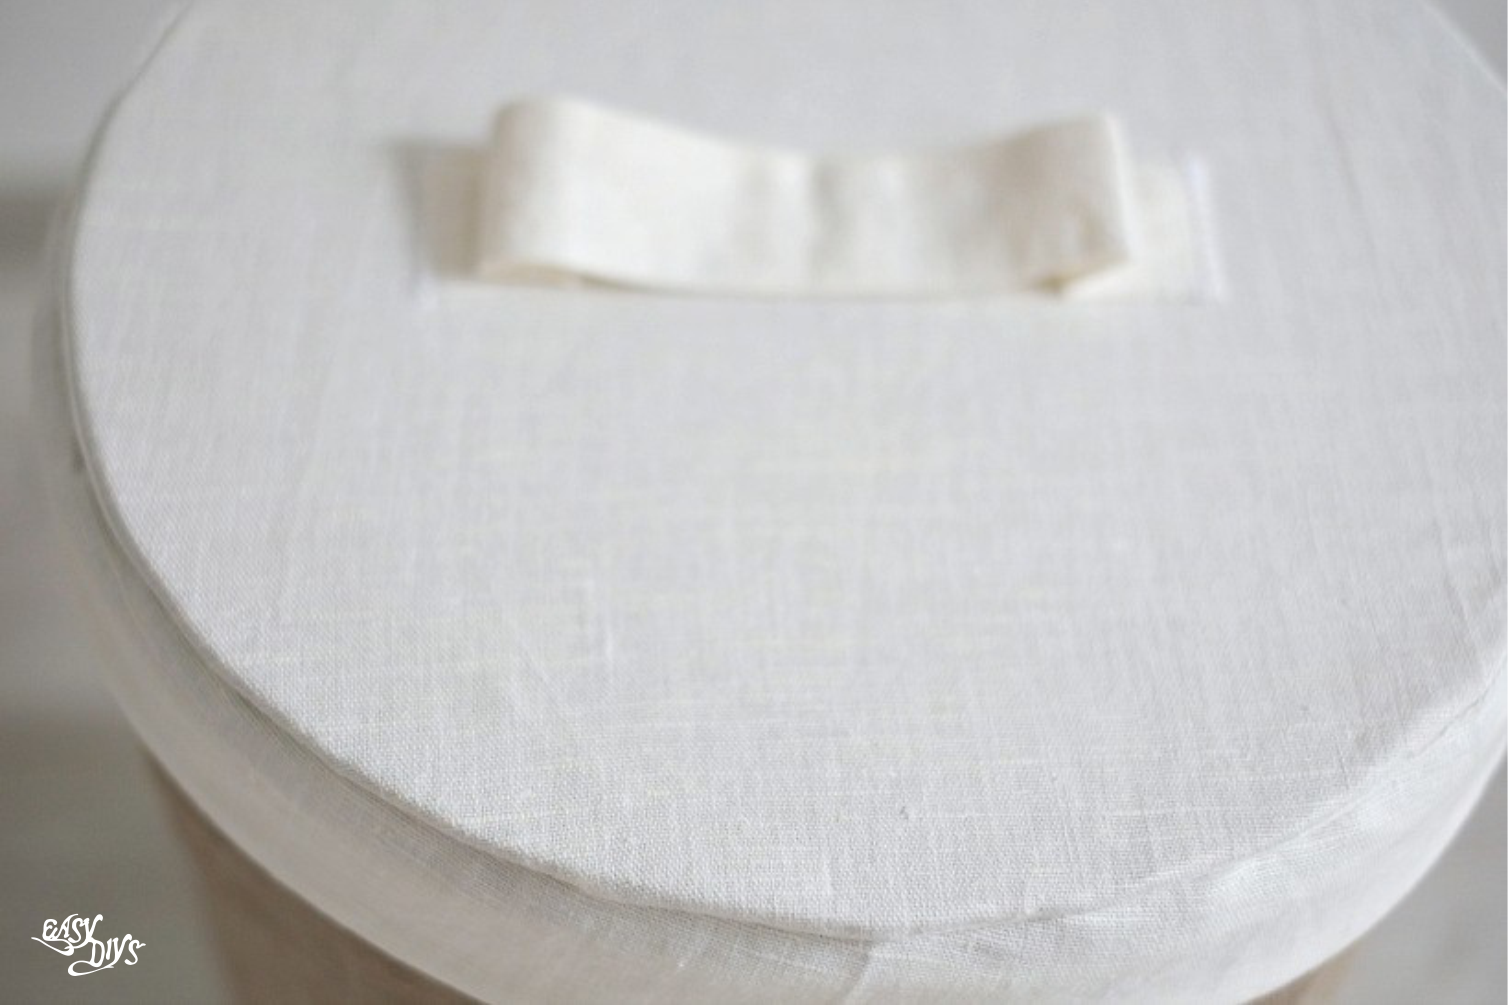
The hardest part of this whole tutorial is going to be finding a spring form to use. I found a Metal mesh at local store. I also noticed that IKEA sells spring buckets for about the same cost. I haven’t used the IKEA one, but my gut instinct says they would work. Our finished project will have the Metal mesh fully encased and the seams tidy. It’s accomplished without any handstitching too!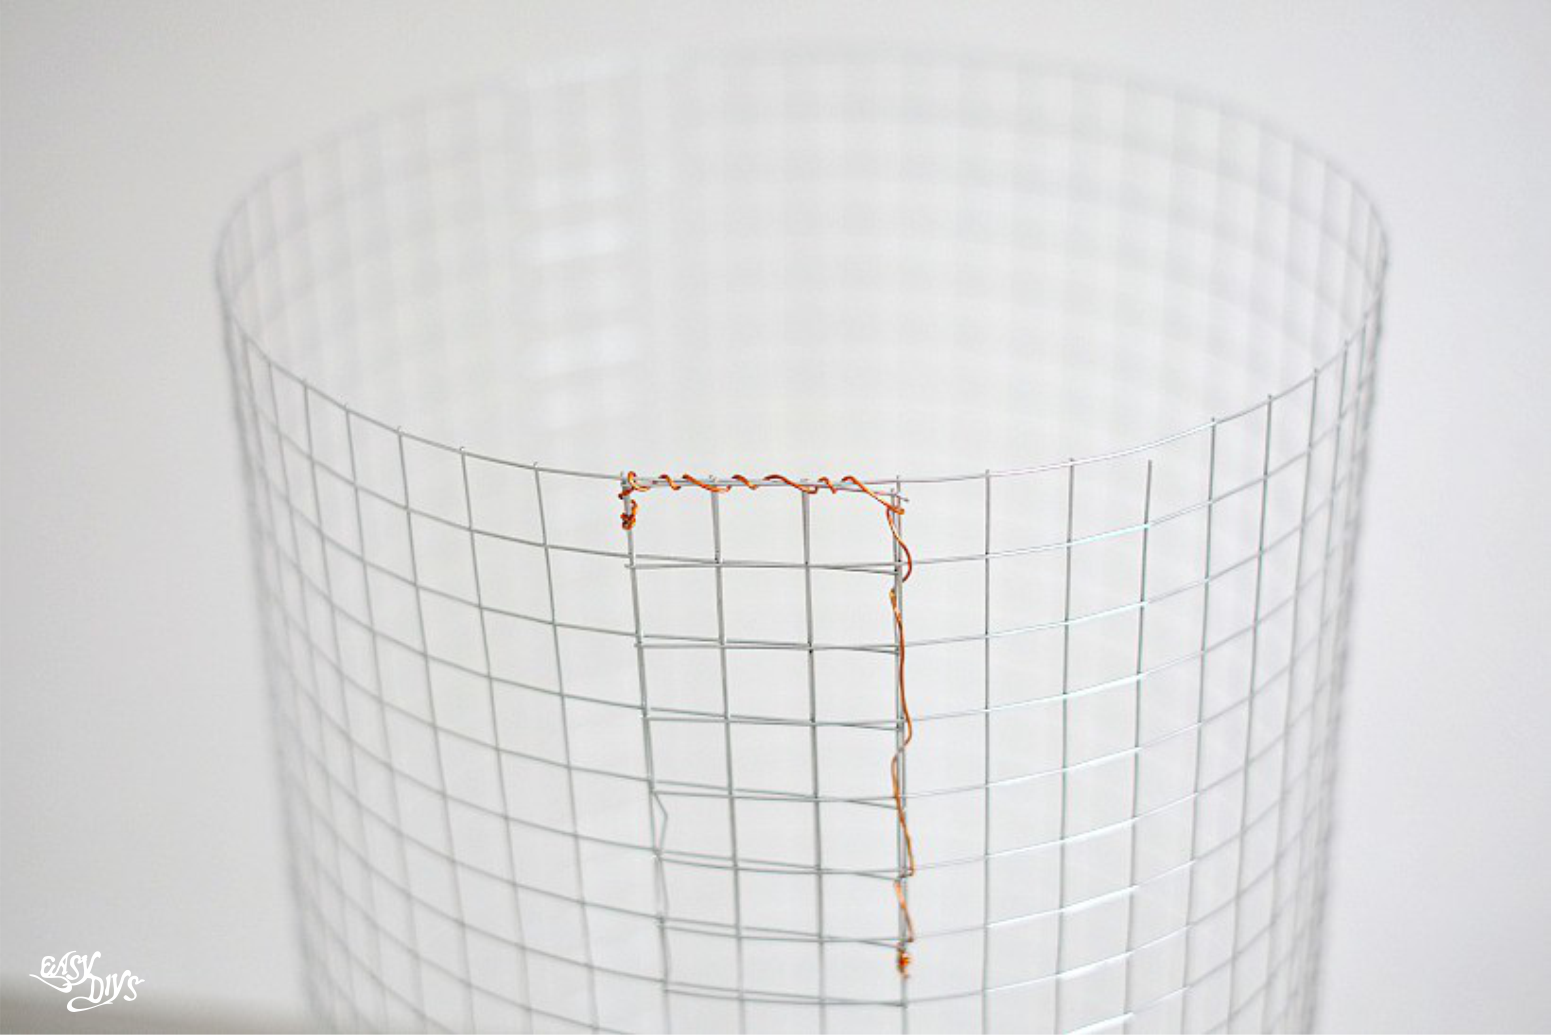



Other Posts
Hot Air Balloon Sewing Pattern
This is the perfect handmade addition to a baby’s room and is one of those pieces you just know will be treasured forever. Because this could easily become a keepsake, we would recommend using a good quality wool felt. To make this DIY baby mobile simply save the...
Perfect Waves for a Wedding
If you are a lucky owner of naturally curly healthy hair, you have everything you need for a fantastic look. Just use a jeweled hairpin or a large flower to keep your side locks a bay. You are going to look super exotic – just right for a destination beach wedding!...
Easy hairstyles for long hair for school step by step
Parents, rejoice! Back-to-school season is nearly upon us! But here’s the thing… The first day of school is all about making that perfect first impression. I mean, it kinda sets the stage for the entire school year, right? So in other words, it’s imperative that...
Manhattan cocktail recipe
Make it a Manhattan kind of night and the highlight of any Happy Hour with the Basil Hayden Bourbon take on the classic cocktail. Manhattan Cocktail RecipeI find the Manhattan cocktail recipe certainly an extremely intriguing one. And it also was subject to...
Healthy granola recipe
Quick and easy to make, this homemade chocolate cherry granola is a fantastic breakfast or snack. Especially when it’s homemade – so much better and healthier then the stuff you get at the store. Plus you can put whatever you want in it then. Including chocolate....
Colourful feed-in Braids with Extensions
Colourful hairstyle for summer/festival hair. Bright hues like pink, blue and green give this otherwise straightforward style a fresh twist. Even better, opting for extensions means you can get a striking look without damaging your hair with bleach or dye. The...
![]()


