How to Carve a Minion Pumpkin for Halloween!

You will need:
Large Pumpkin Washable Marker Large Knife Smaller Knife Large Spoon 2 cups (small and large)Basic pumpkin preparation for carving
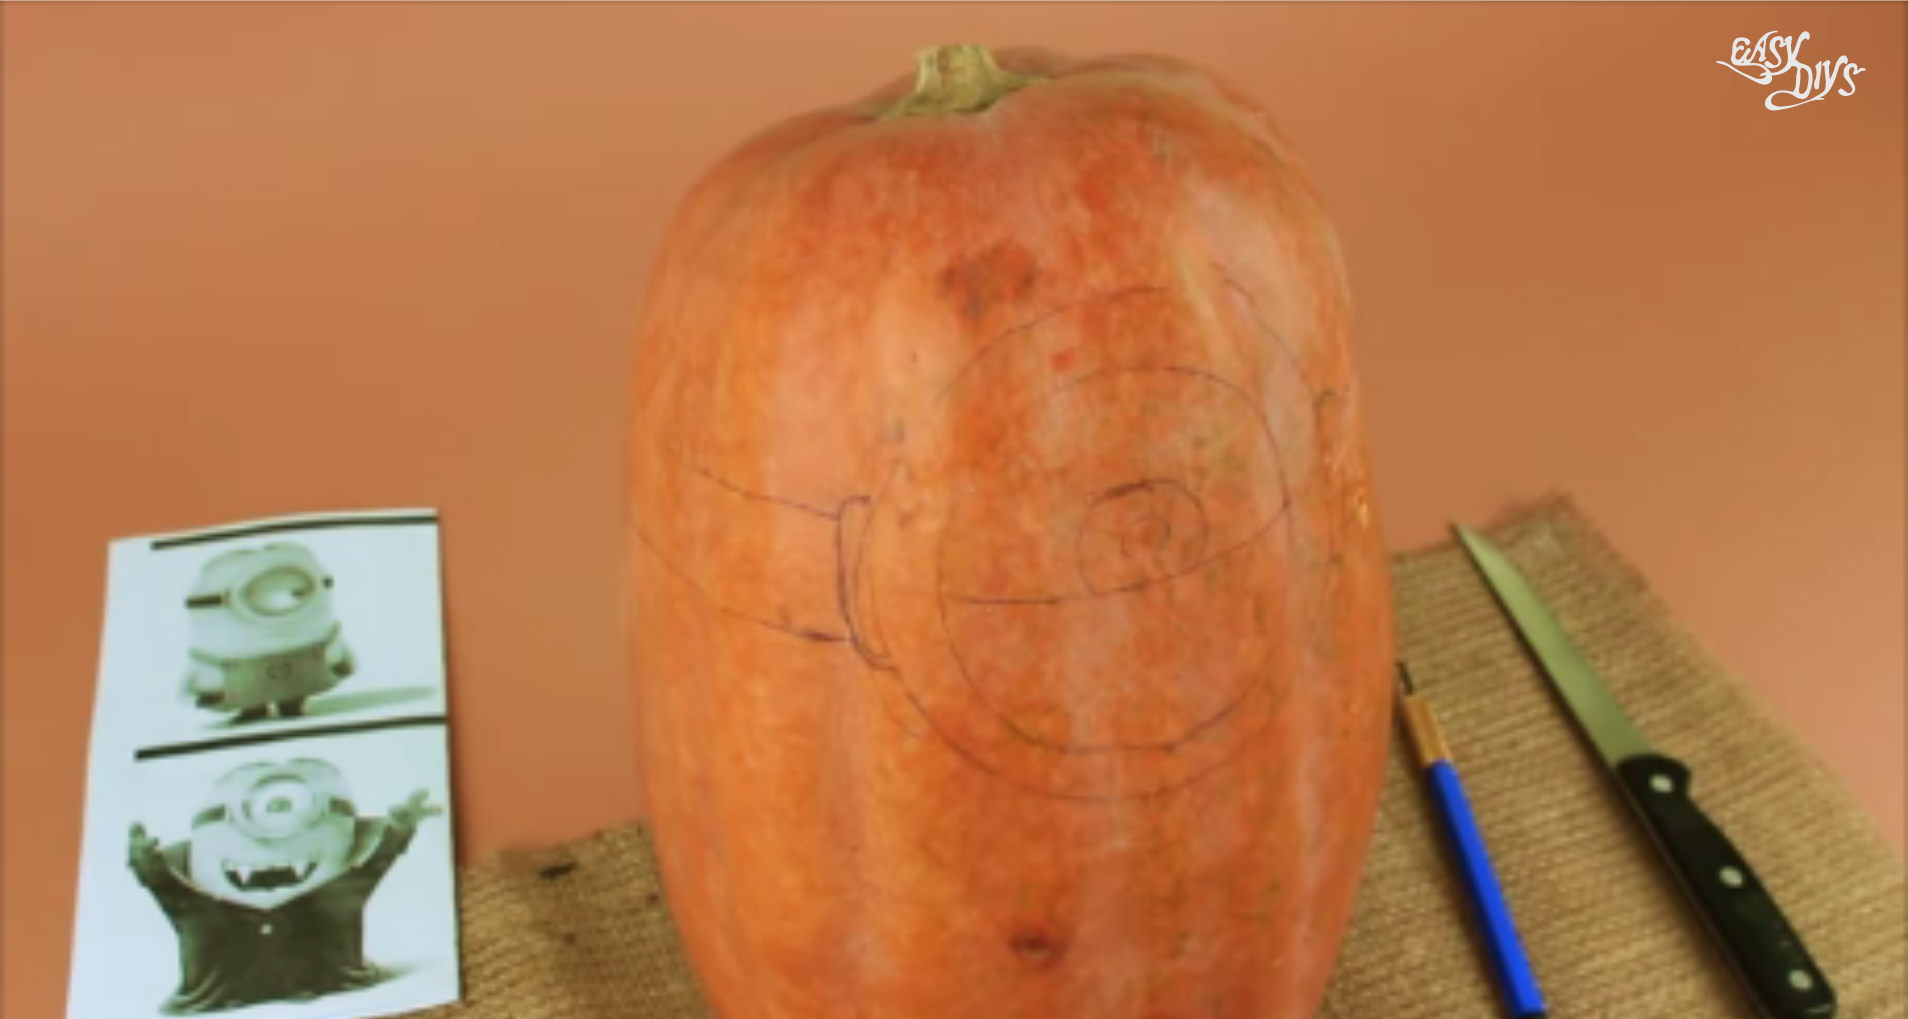
Choose a pumpkin that is an appropriate size and shape for the design you wish to carve. Tall pumpkins may lend themselves better to faces. For designs with lots of cutouts, look for large, round pumpkins with smooth surfaces. Look for a pumpkin with a flat bottom that will sit upright. Wipe the pumpkin clean with a soft damp cloth and dry. For a bottom: Draw an opening on the bottom of your pumpkin if you want to sit it over a candle. Be sure to draw the opening large enough so that it will be easy to reach inside and scoop out the contents when cut. Only adults should do the actual cutting. To do so, cut along the drawn lines for the lid or bottom opening with a sharp paring knife. If cutting a lid, angle the blade toward the center of the pumpkin to create a ledge that supports the lid. If cutting a bottom, cut straight into the pumpkin. Scoop out the seeds and strings from inside the pumpkin. Use a large spoon or ice-cream scoop or the plastic scraper scoop that is made for this purpose. Tip: Don’t waste the seeds, why not toast them and have them as a snack? Boil them in salted water for 10 minutes, then toast them in the oven with a bit of olive oil until they’re brown. Scrape the inner pulp away from the area of the pumpkin that you plan to carve. When you are done, your pumpkin should have a smooth inside all the way around. Nice and clean.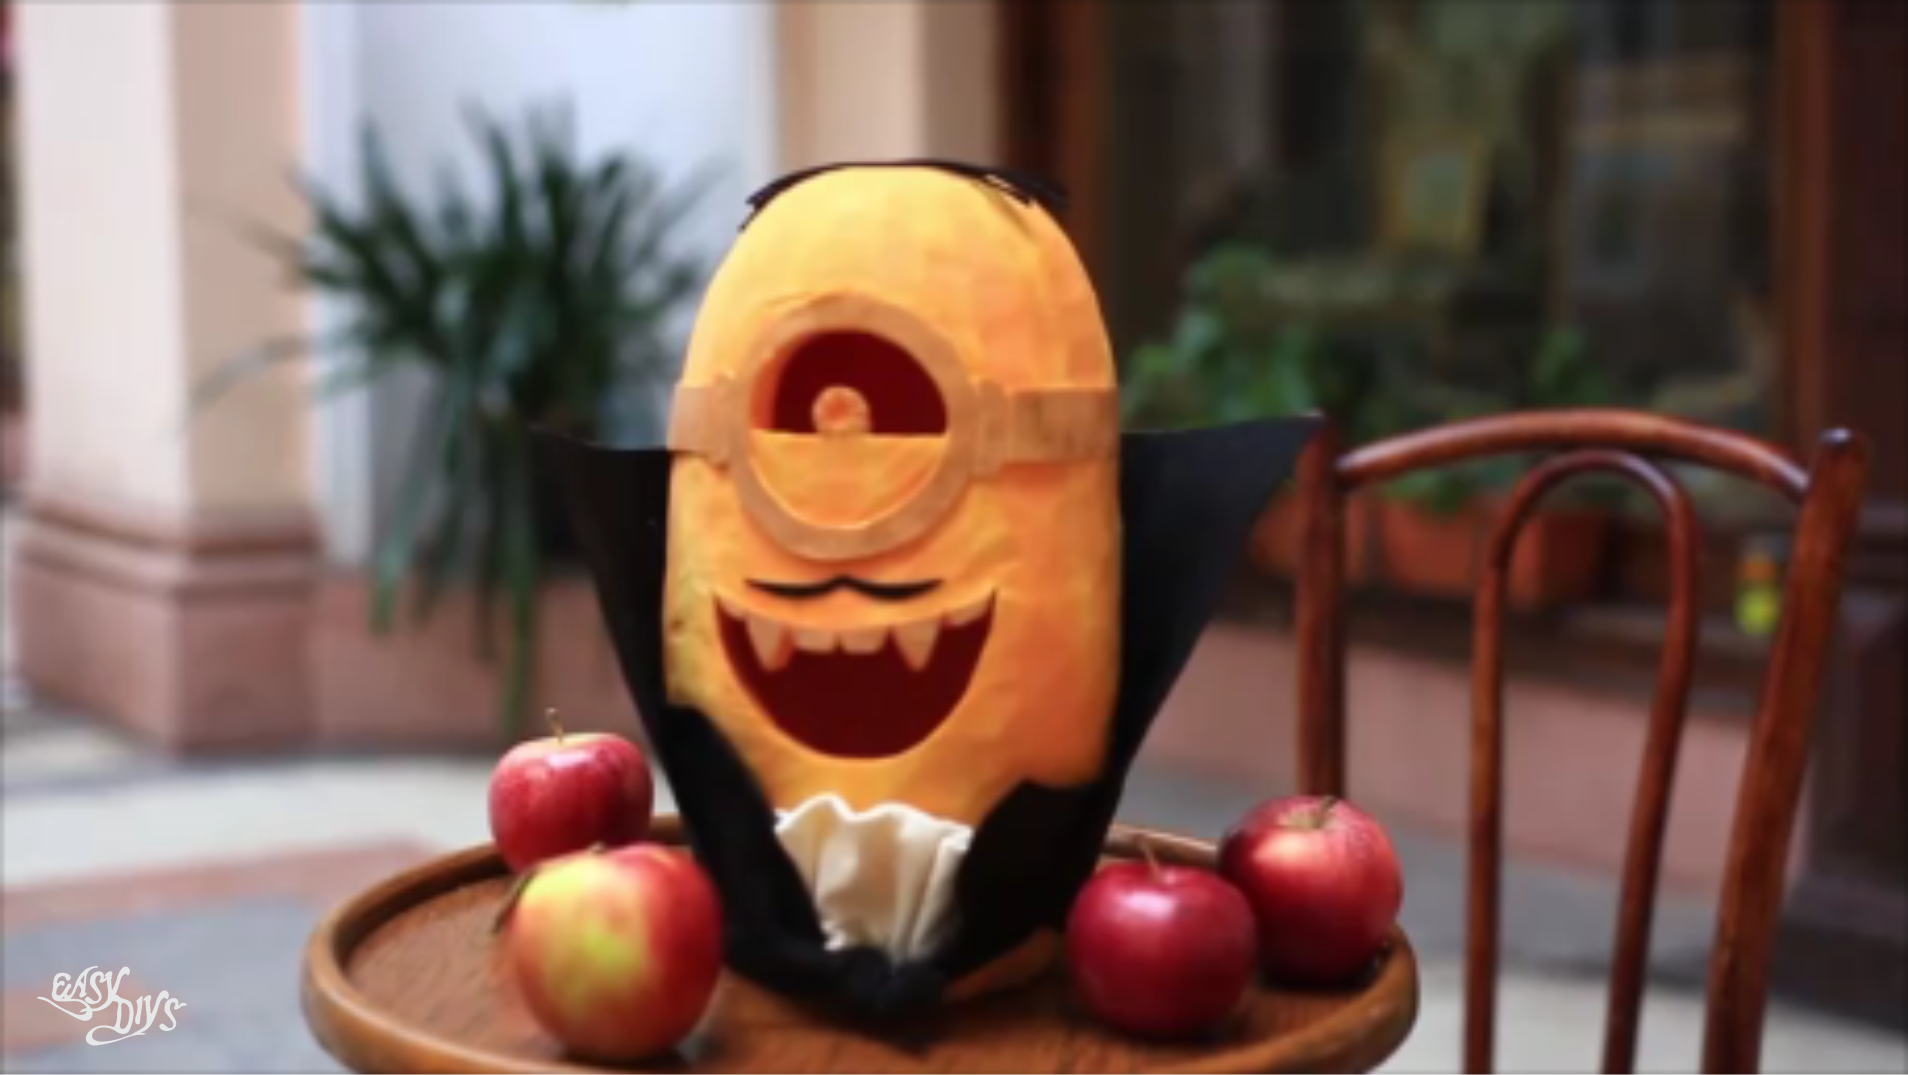
Other Posts

Hot Air Balloon Sewing Pattern
This is the perfect handmade addition to a baby’s room and is one of those pieces you just know will be treasured forever. Because this could easily become a keepsake, we would recommend using a good quality wool felt. To make this DIY baby mobile simply save the...

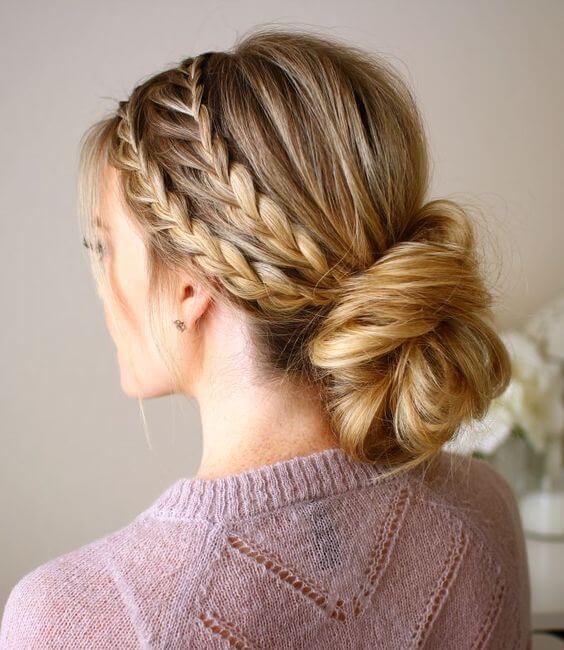
Perfect Waves for a Wedding
If you are a lucky owner of naturally curly healthy hair, you have everything you need for a fantastic look. Just use a jeweled hairpin or a large flower to keep your side locks a bay. You are going to look super exotic – just right for a destination beach wedding!...
Easy hairstyles for long hair for school step by step
Parents, rejoice! Back-to-school season is nearly upon us! But here’s the thing… The first day of school is all about making that perfect first impression. I mean, it kinda sets the stage for the entire school year, right? So in other words, it’s imperative that...

Manhattan cocktail recipe
Make it a Manhattan kind of night and the highlight of any Happy Hour with the Basil Hayden Bourbon take on the classic cocktail. Manhattan Cocktail RecipeI find the Manhattan cocktail recipe certainly an extremely intriguing one. And it also was subject to...

Healthy granola recipe
Quick and easy to make, this homemade chocolate cherry granola is a fantastic breakfast or snack. Especially when it’s homemade – so much better and healthier then the stuff you get at the store. Plus you can put whatever you want in it then. Including chocolate....
Colourful feed-in Braids with Extensions
Colourful hairstyle for summer/festival hair. Bright hues like pink, blue and green give this otherwise straightforward style a fresh twist. Even better, opting for extensions means you can get a striking look without damaging your hair with bleach or dye. The...
![]()

