
Homemade Strawberry Liqueur Recipe
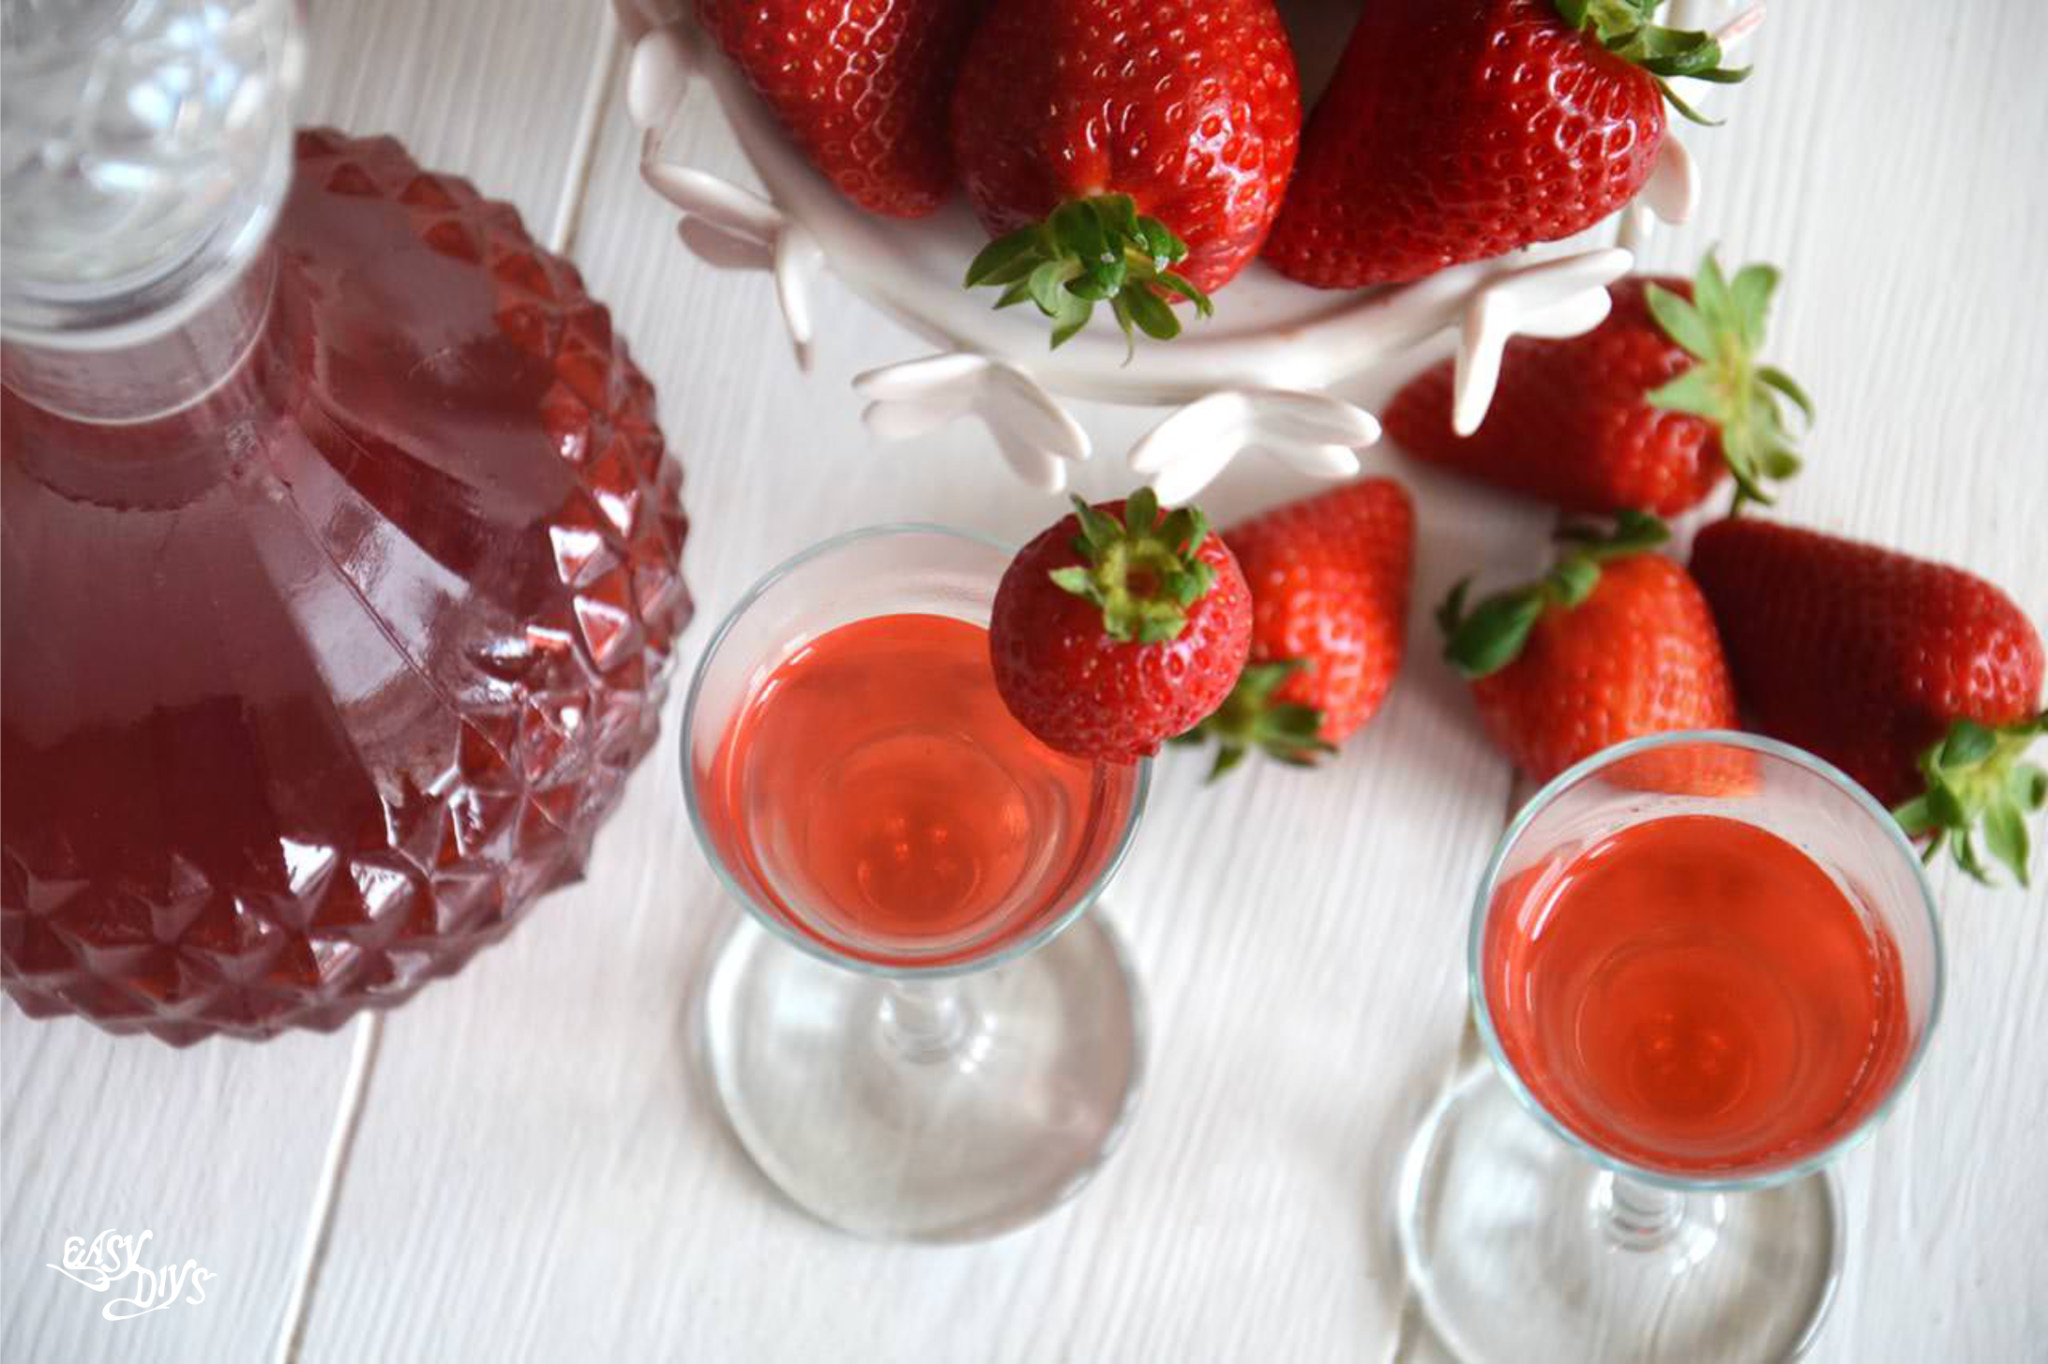

INGREDIENTS:
for 1 liter of liqueur 500 gr of strawberries 500 ml of alcohol (Vodka) 400 grams of sugar 300 ml of water Note: I suggest you buy 1 kg. of strawberries because you are going to cut the stems off and because sometimes there are some bad strawberries in the package.INSTRUCTIONS:
Wash and dry the strawberries. Remove the stems and cut off the top of the strawberries. The flesh close to the stem is not as sweet as the rest of the strawberry. If there is any white flesh on the strawberries, cut them off. Dice all the strawberries.


Bottling and Serving
This strawberry liqueur recipe yields about 1 liters of liqueur. The liqueur could be stored in an empty 1 liter bottle or two 500 ml bottles. Let it rest at least a couple of days before using. Note: Make sure you shake the strawberry liqueur well before serving.Other Posts

Hot Air Balloon Sewing Pattern
This is the perfect handmade addition to a baby’s room and is one of those pieces you just know will be treasured forever. Because this could easily become a keepsake, we would recommend using a good quality wool felt. To make this DIY baby mobile simply save the...

Perfect Waves for a Wedding
If you are a lucky owner of naturally curly healthy hair, you have everything you need for a fantastic look. Just use a jeweled hairpin or a large flower to keep your side locks a bay. You are going to look super exotic – just right for a destination beach wedding!...
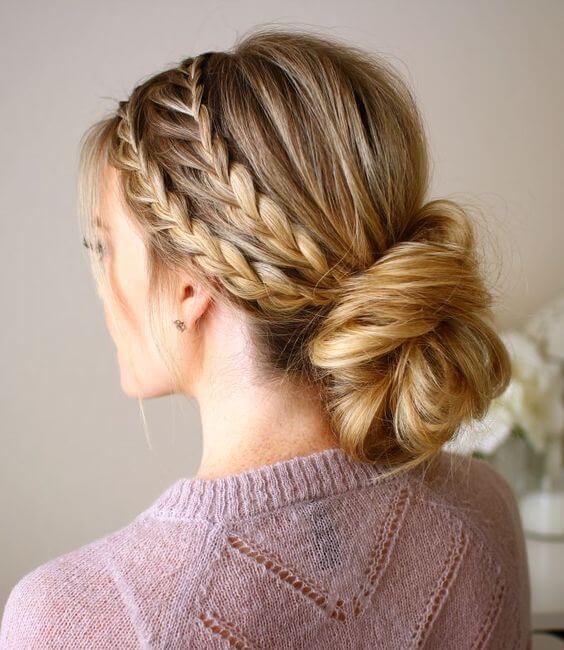
Easy hairstyles for long hair for school step by step
Parents, rejoice! Back-to-school season is nearly upon us! But here’s the thing… The first day of school is all about making that perfect first impression. I mean, it kinda sets the stage for the entire school year, right? So in other words, it’s imperative that...

Manhattan cocktail recipe
Make it a Manhattan kind of night and the highlight of any Happy Hour with the Basil Hayden Bourbon take on the classic cocktail. Manhattan Cocktail RecipeI find the Manhattan cocktail recipe certainly an extremely intriguing one. And it also was subject to...

Healthy granola recipe
Quick and easy to make, this homemade chocolate cherry granola is a fantastic breakfast or snack. Especially when it’s homemade – so much better and healthier then the stuff you get at the store. Plus you can put whatever you want in it then. Including chocolate....

Colourful feed-in Braids with Extensions
Colourful hairstyle for summer/festival hair. Bright hues like pink, blue and green give this otherwise straightforward style a fresh twist. Even better, opting for extensions means you can get a striking look without damaging your hair with bleach or dye. The...


