World’s Easiest Silicone Mold – EASY and CHEAP

This is a really easy and fast way of making a silicone mold. You can quickly take casts of anything hard and durable and remove it when the silicone is set after about 1 hour! Then your mold is ready to go!
This DIY is something I’ve been working on for ages! Being able to quickly and easily make a mould means I can make clay, resin and concrete (to name a few) versions of pretty much anything I like… Think of the possibilities!
Note: Silicone Sealant – So this is important. It has to say silicone on it! I tried with different sealants and some worked… some really did not. The one in the picture below worked ok, but the best I tried was a “bathroom silicone sealant” which produced the final mould. The brand doesn’t matter just needs to be 100% silicone.
You will need:
Silicone Sealant Caulking gun – to get the silicone out. Cornstarch A positive to make the mould out of Rubber/latex gloves A ‘non-precious’ bowlAlso take a look at the shape, as it needs to be simple. In order for molds to release the form there have to be minimal ‘undercuts’. This means no areas that are very deep or complicated like holes or legs. A simple shape with surface details is best.

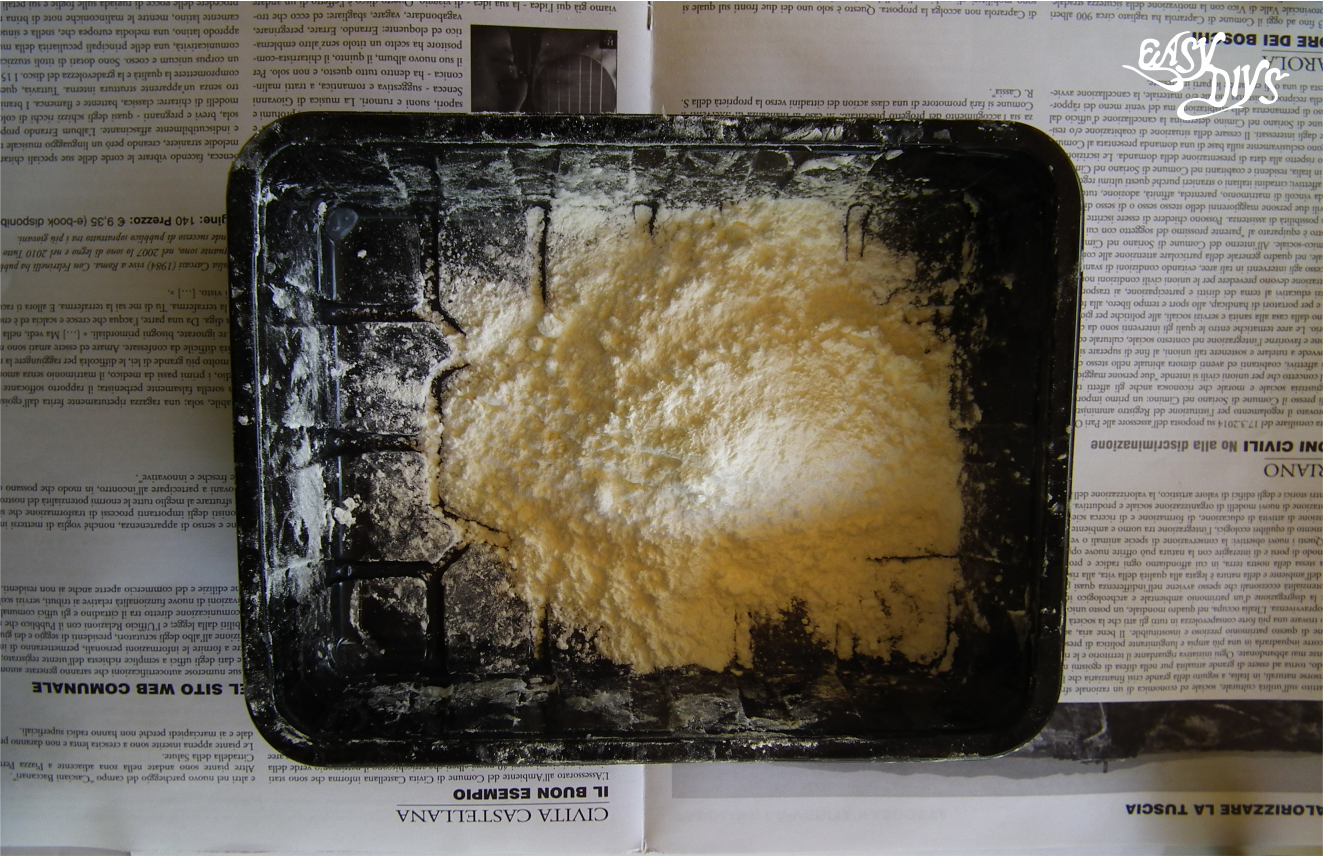
Now to make the molding compound. In a bowl that is not too precious (as this may not come off) put a pile of cornstarch at the bottom. It’s sort of like making pasta dough… Put the silicone in a caulking gun, cut the end AND poke a hole in the tube, then squirt it into the bowl.
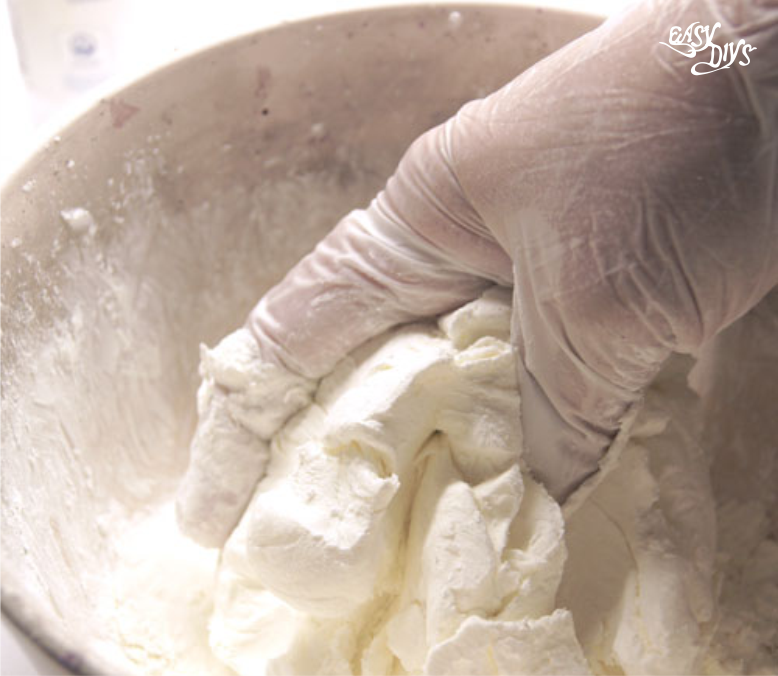
I put more cornstarch on top and started to stir it.Work it til it feels like a modelling clay. 2 minuts
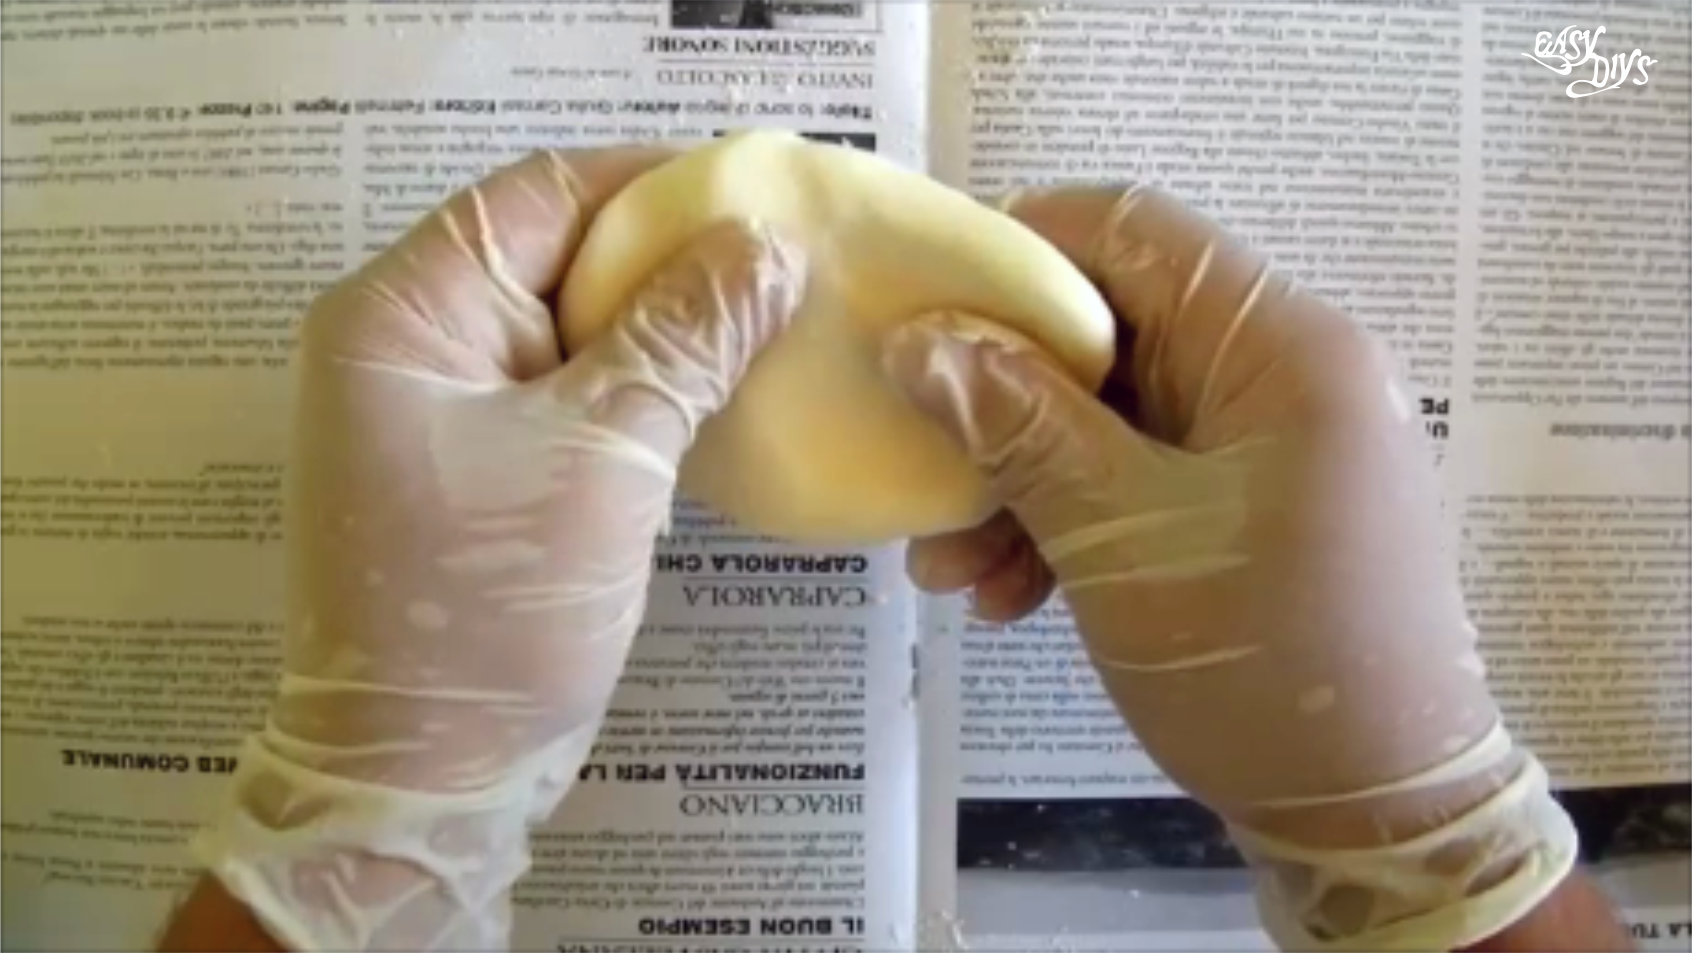
Knead it to have even texture and start to apply onto shape. You will need to flatten it and force it to wrap around the shape. You should try to get an even layer around all of the form. I planned that the bottom would be the opening for pouring (usually the case) so I left it empty.

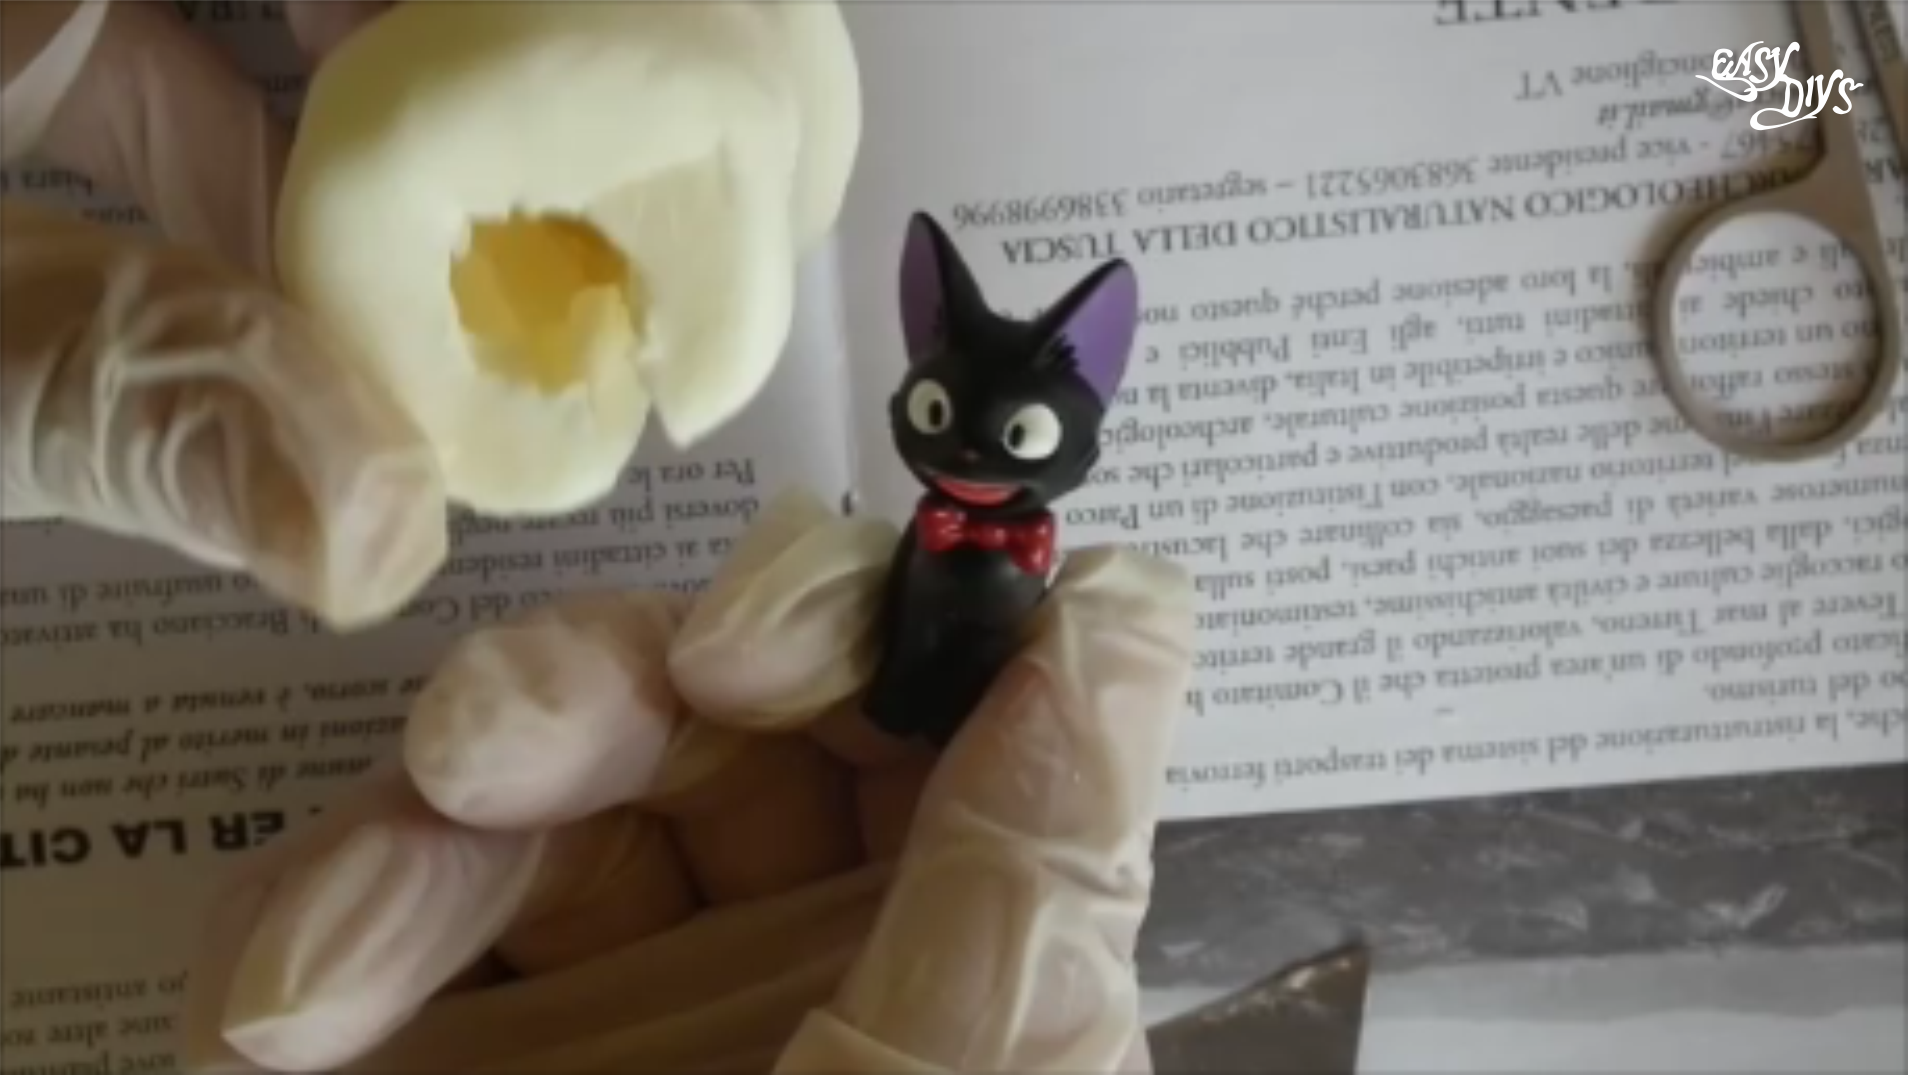
I brought the ‘dough’ around to completely envelope the shape. Make sure you press against the form to capture all the details. This mixture dries and stiffens quite quickly. Remove it when the silicone is set after about 1 hour.
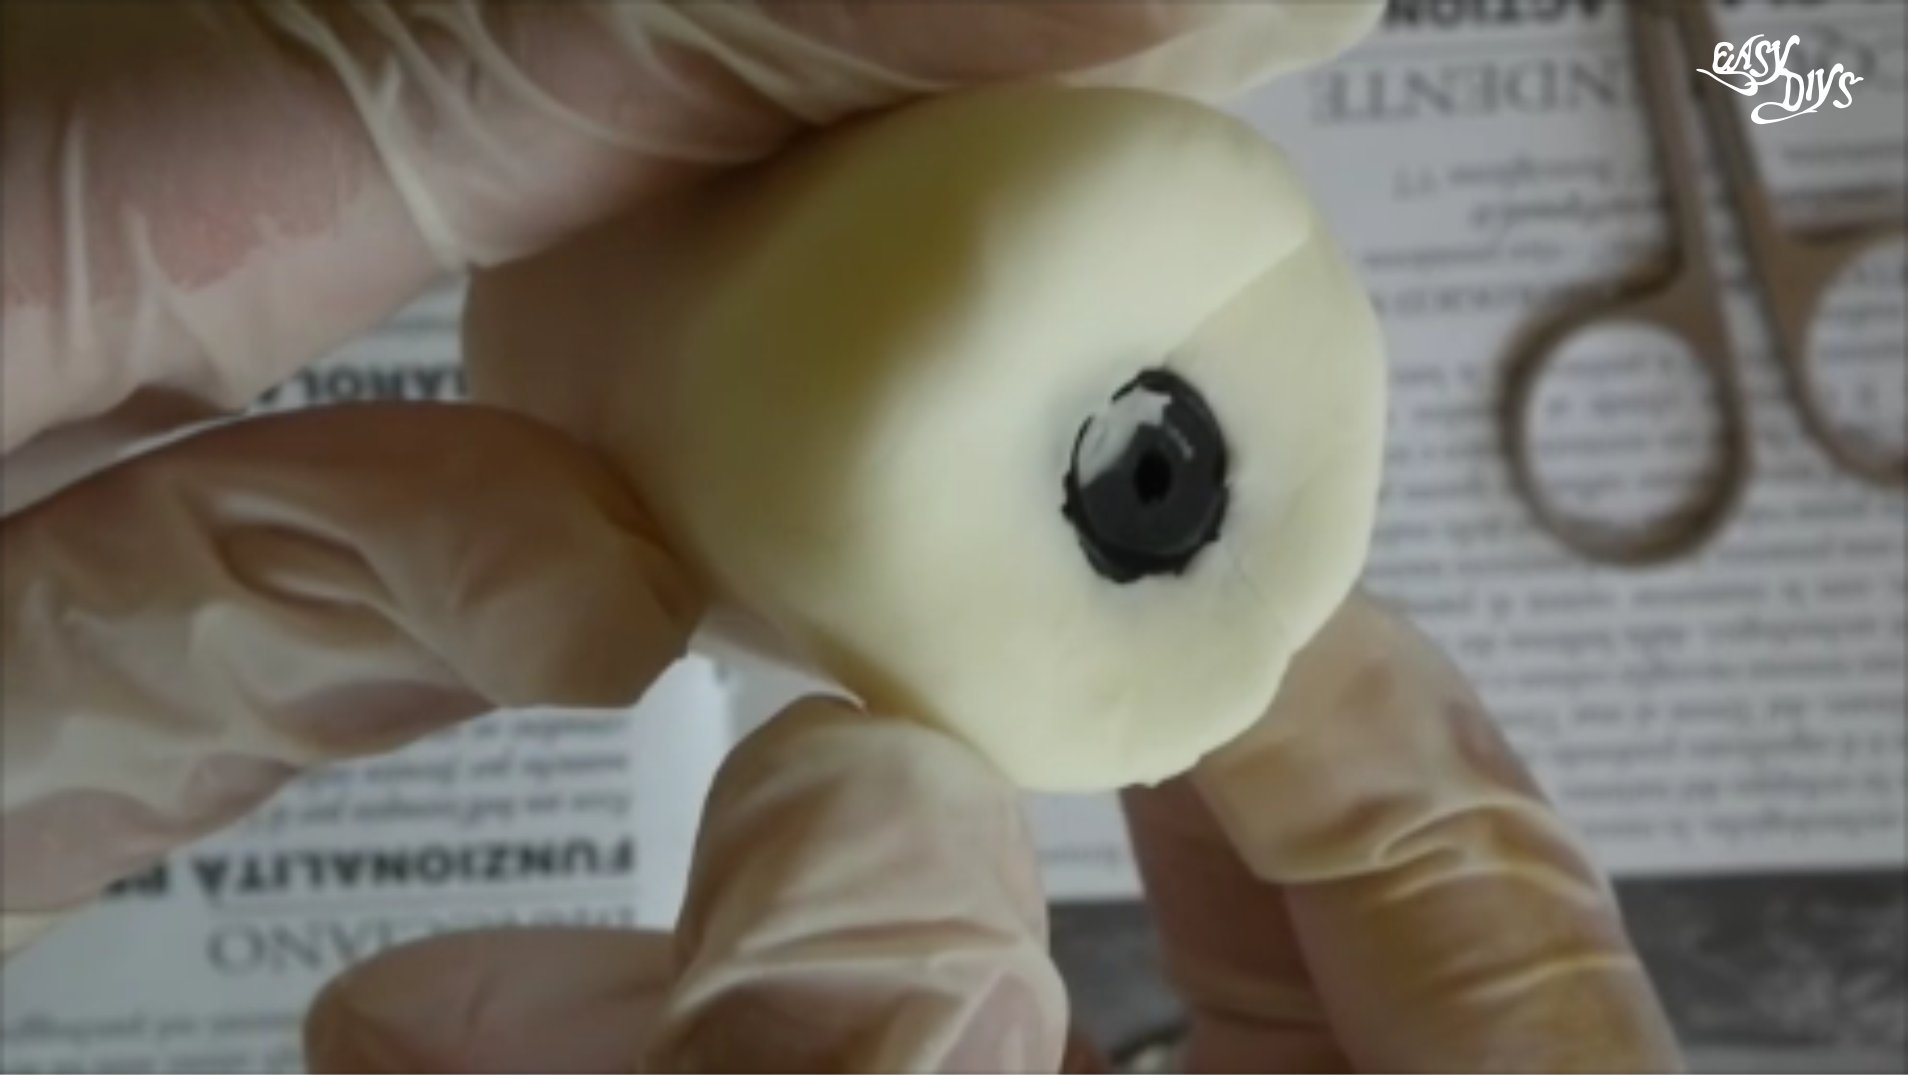
Once it’s set it’s obvious you won’t be able to pull the form out of this shape as it is. You will need to make seams that allow opening and closing. Sometimes you can see the evidence of where the original seams were in the original manufacture of it.
This allows the form to be pulled out. The silicone/cornstarch mix becomes quite stiff but still has some flexibility of silicone. I find it holds shape more that just pure silicone.
You have now created your mold! Congrats! You may have some favourite trinkets that you can now mold. Be proud, you made it yourself!
See Part 2 – Casting your own miniatures
![]()

