DIY Celtic Knot Pillow

When Anne and I get together we like to do fun projects. Our project of choice this time was a fun toss pillow that was tied into a celtic knot.
We went with 1.5 yards (140cm) of material that was 56 inches (142cm) wide . We also bought some practice material of the same width and length since we had never made this type of pillow before, we just presumed we would probably have to tie and untie the pillow a few times. We did not want to have a dirty frayed pillow after all of our hard work.
We cut 4 strips that were 5.5 inches (14cm) wide 56 inches (142cm) long, because when you buy material at the fabric store, they are not precise when they cut your yardage. Even though you ask for 1.5 yards, it may be 1.75 yards on one side and 1.25 yards on the other end.

You will need:
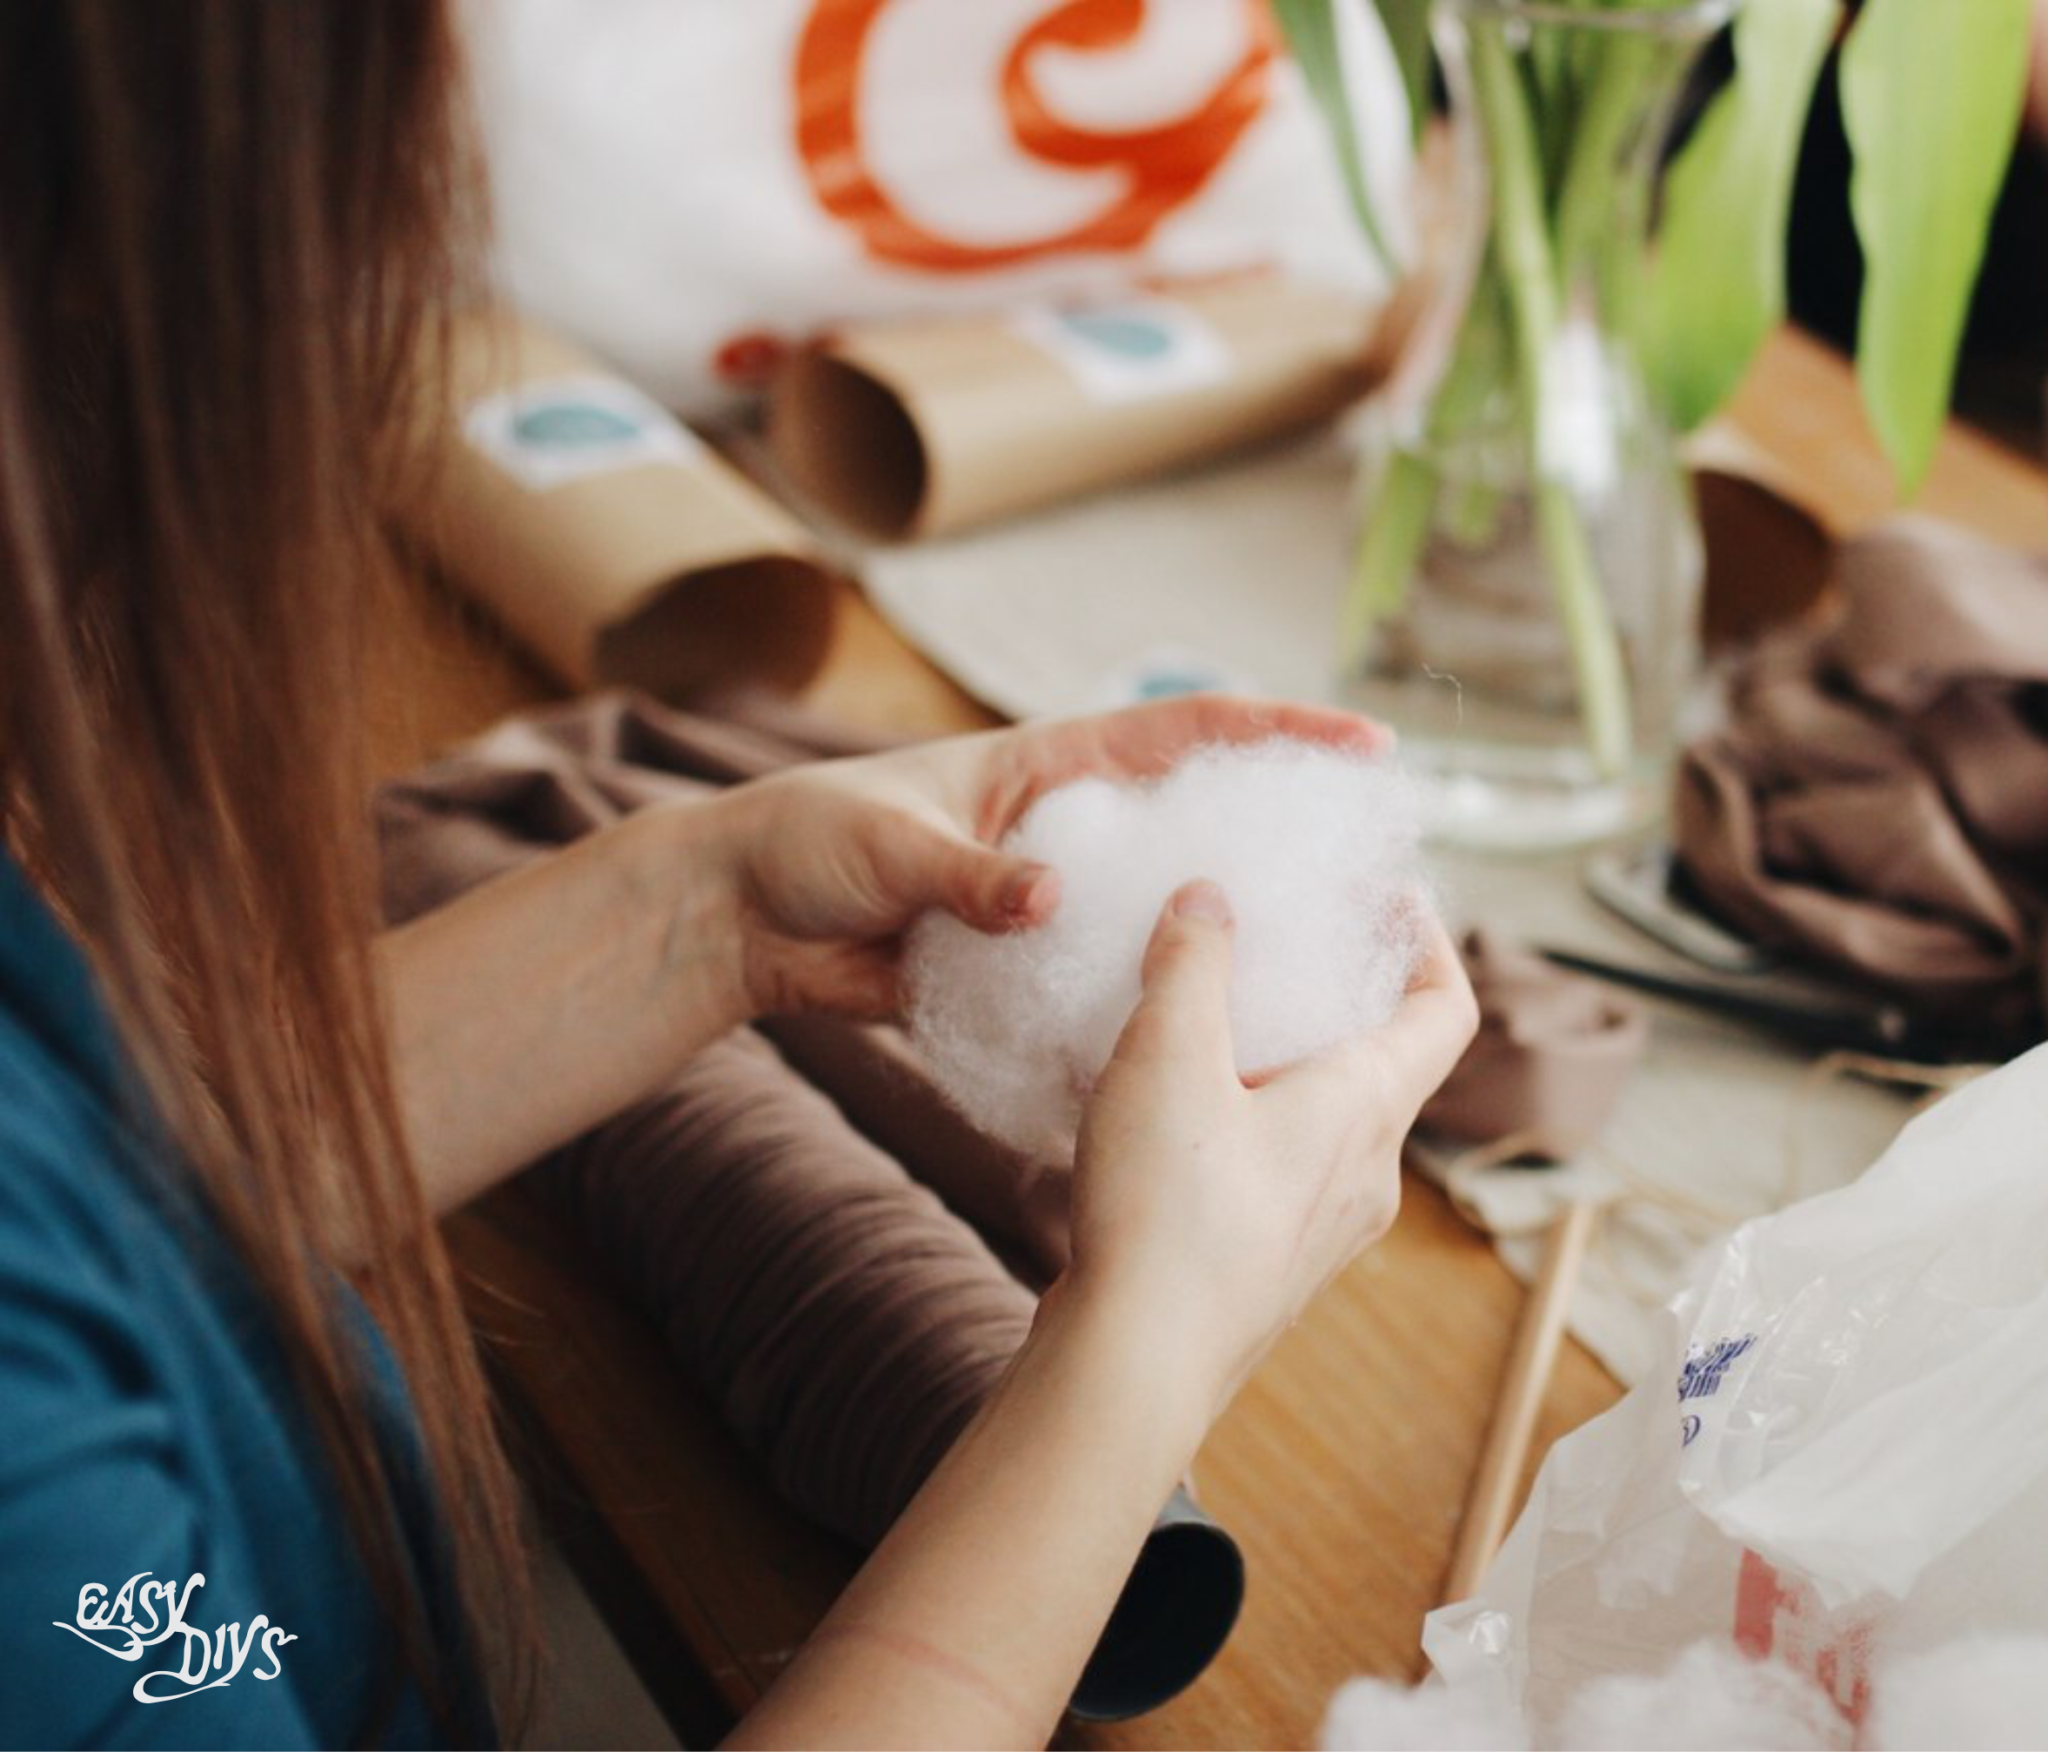
Cardboard roll or plastic tube Fiber filling Gorgeous material Scissors Sewing machineLet’s get started!
We took 2 of the strips and sewed one end each together, then we took the other 2 strips and sewed one end each together as well. We then had 2 long strips that where 5.5 inches (14cm) wide and 112 inches (280cm) long. Whew.
We sewed both strips into tubes and filled them with pillow stuffing.
We each used a curtain rod to help push the stuffing in, as a team she stuffed to the center from each end, we did this with both tubes, then sewed both filled tubes together giving us one long tube that was 224 inches (570cm) long.
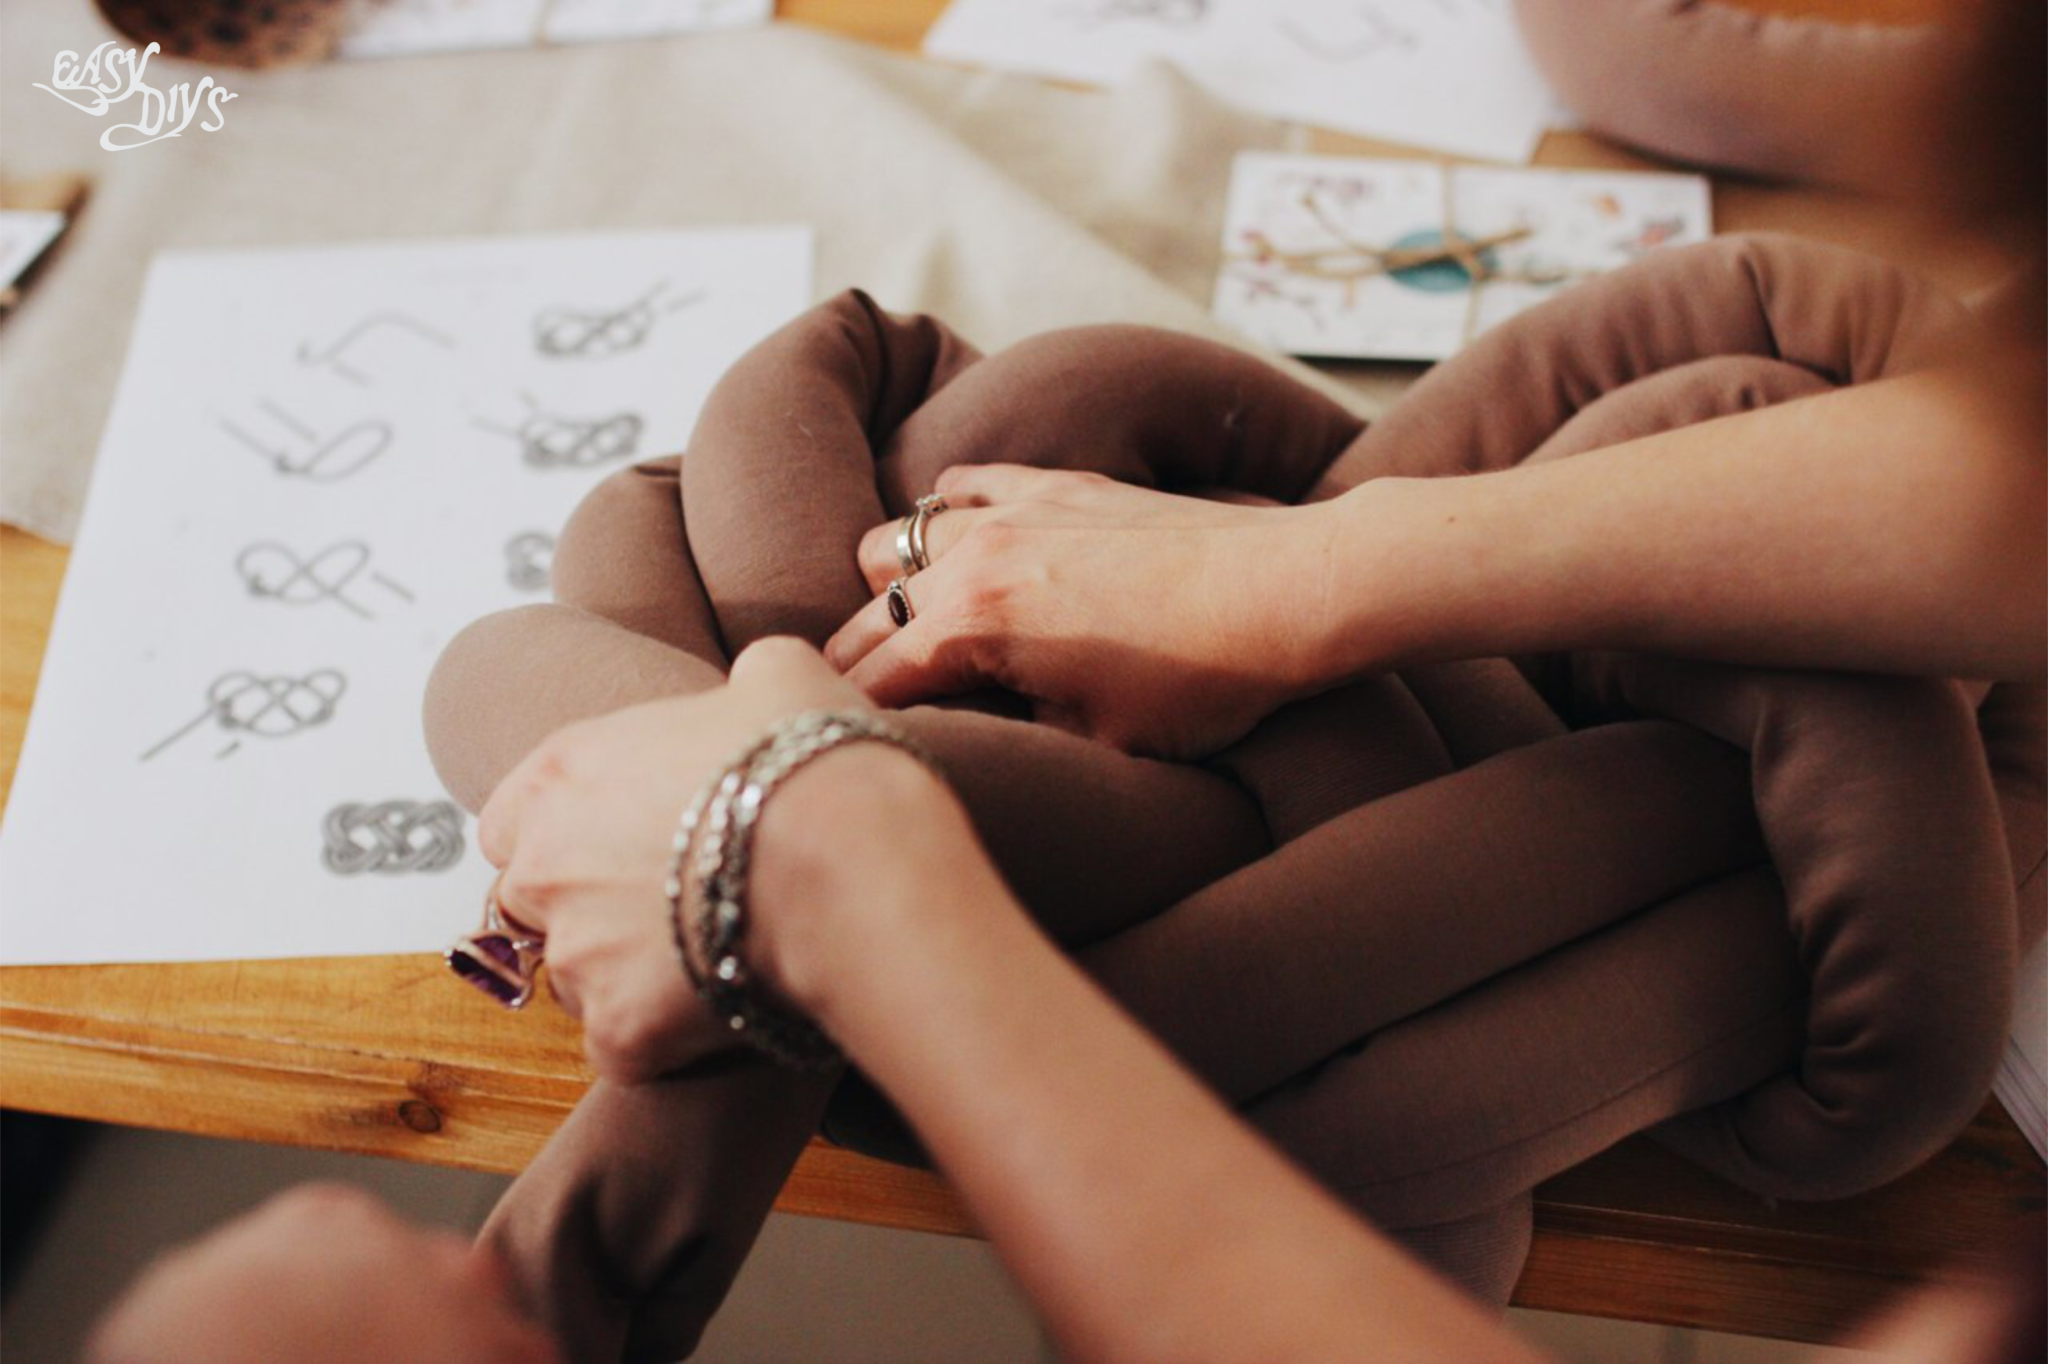
We attempted the knot at least 4 times with the practice pillow and 2 times with the actual pillow, finally after twisting all of the seams in and to the back it looked great. Our tube ended up just a little too long, so we clipped the extra off after our knot has been adjusted and tightened.
Once the tube was filled, she temporarily closed both ends with a safety pin.
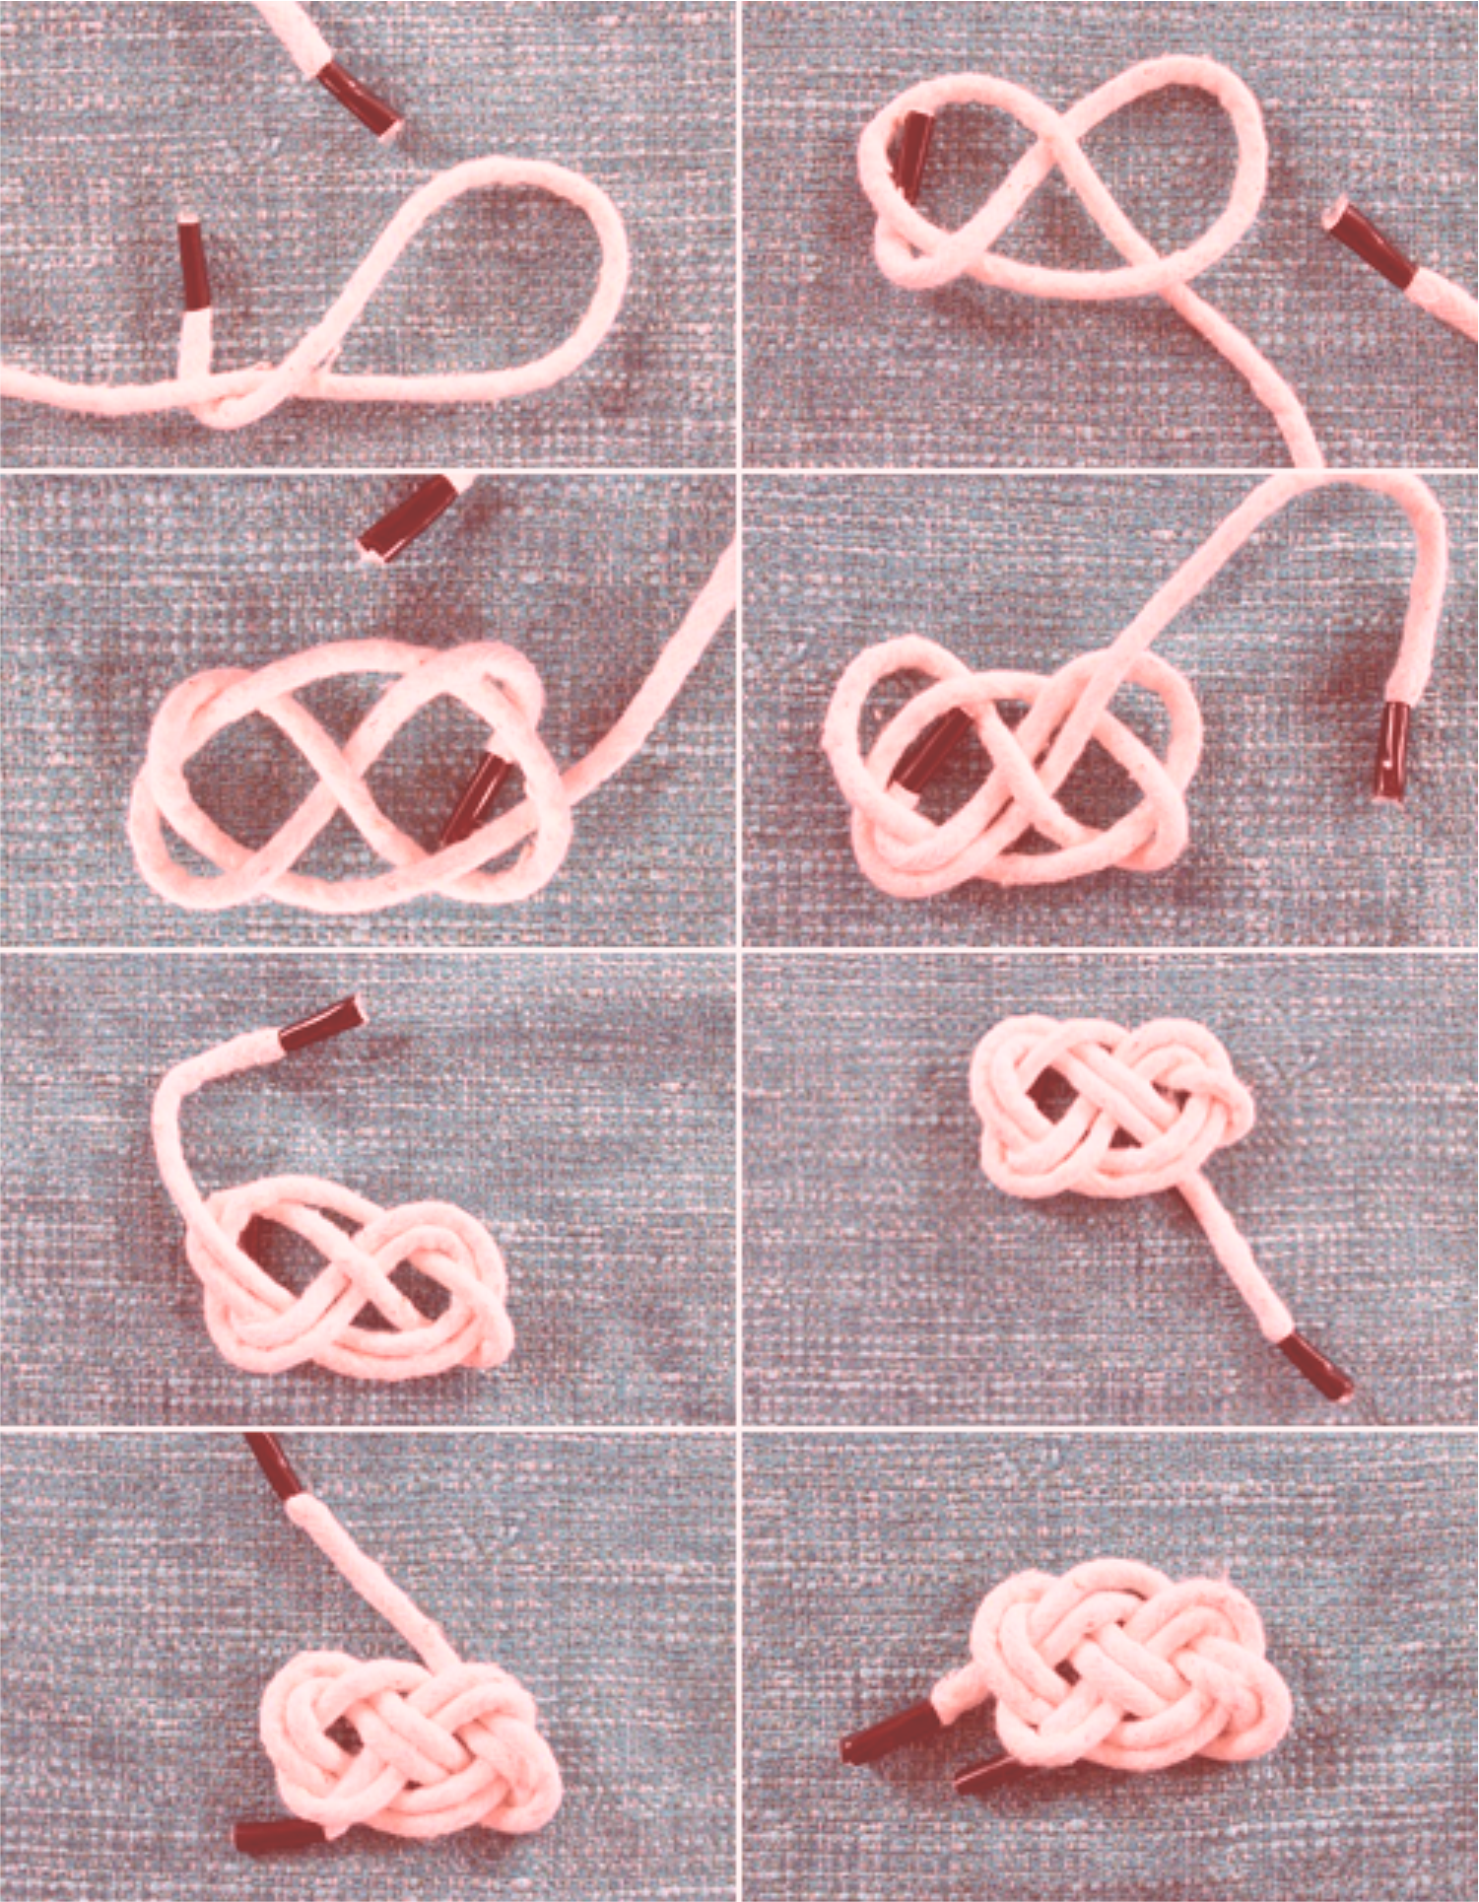
A basic Celtic knot shown below:
After the knot was finished, the ends of the tubes meet at the same point. The last step was to hand stitch the fabric together and finish up the pillow!
When it’s all completed, the results are ridiculously adorable!

![]()

