DIY knot pillows

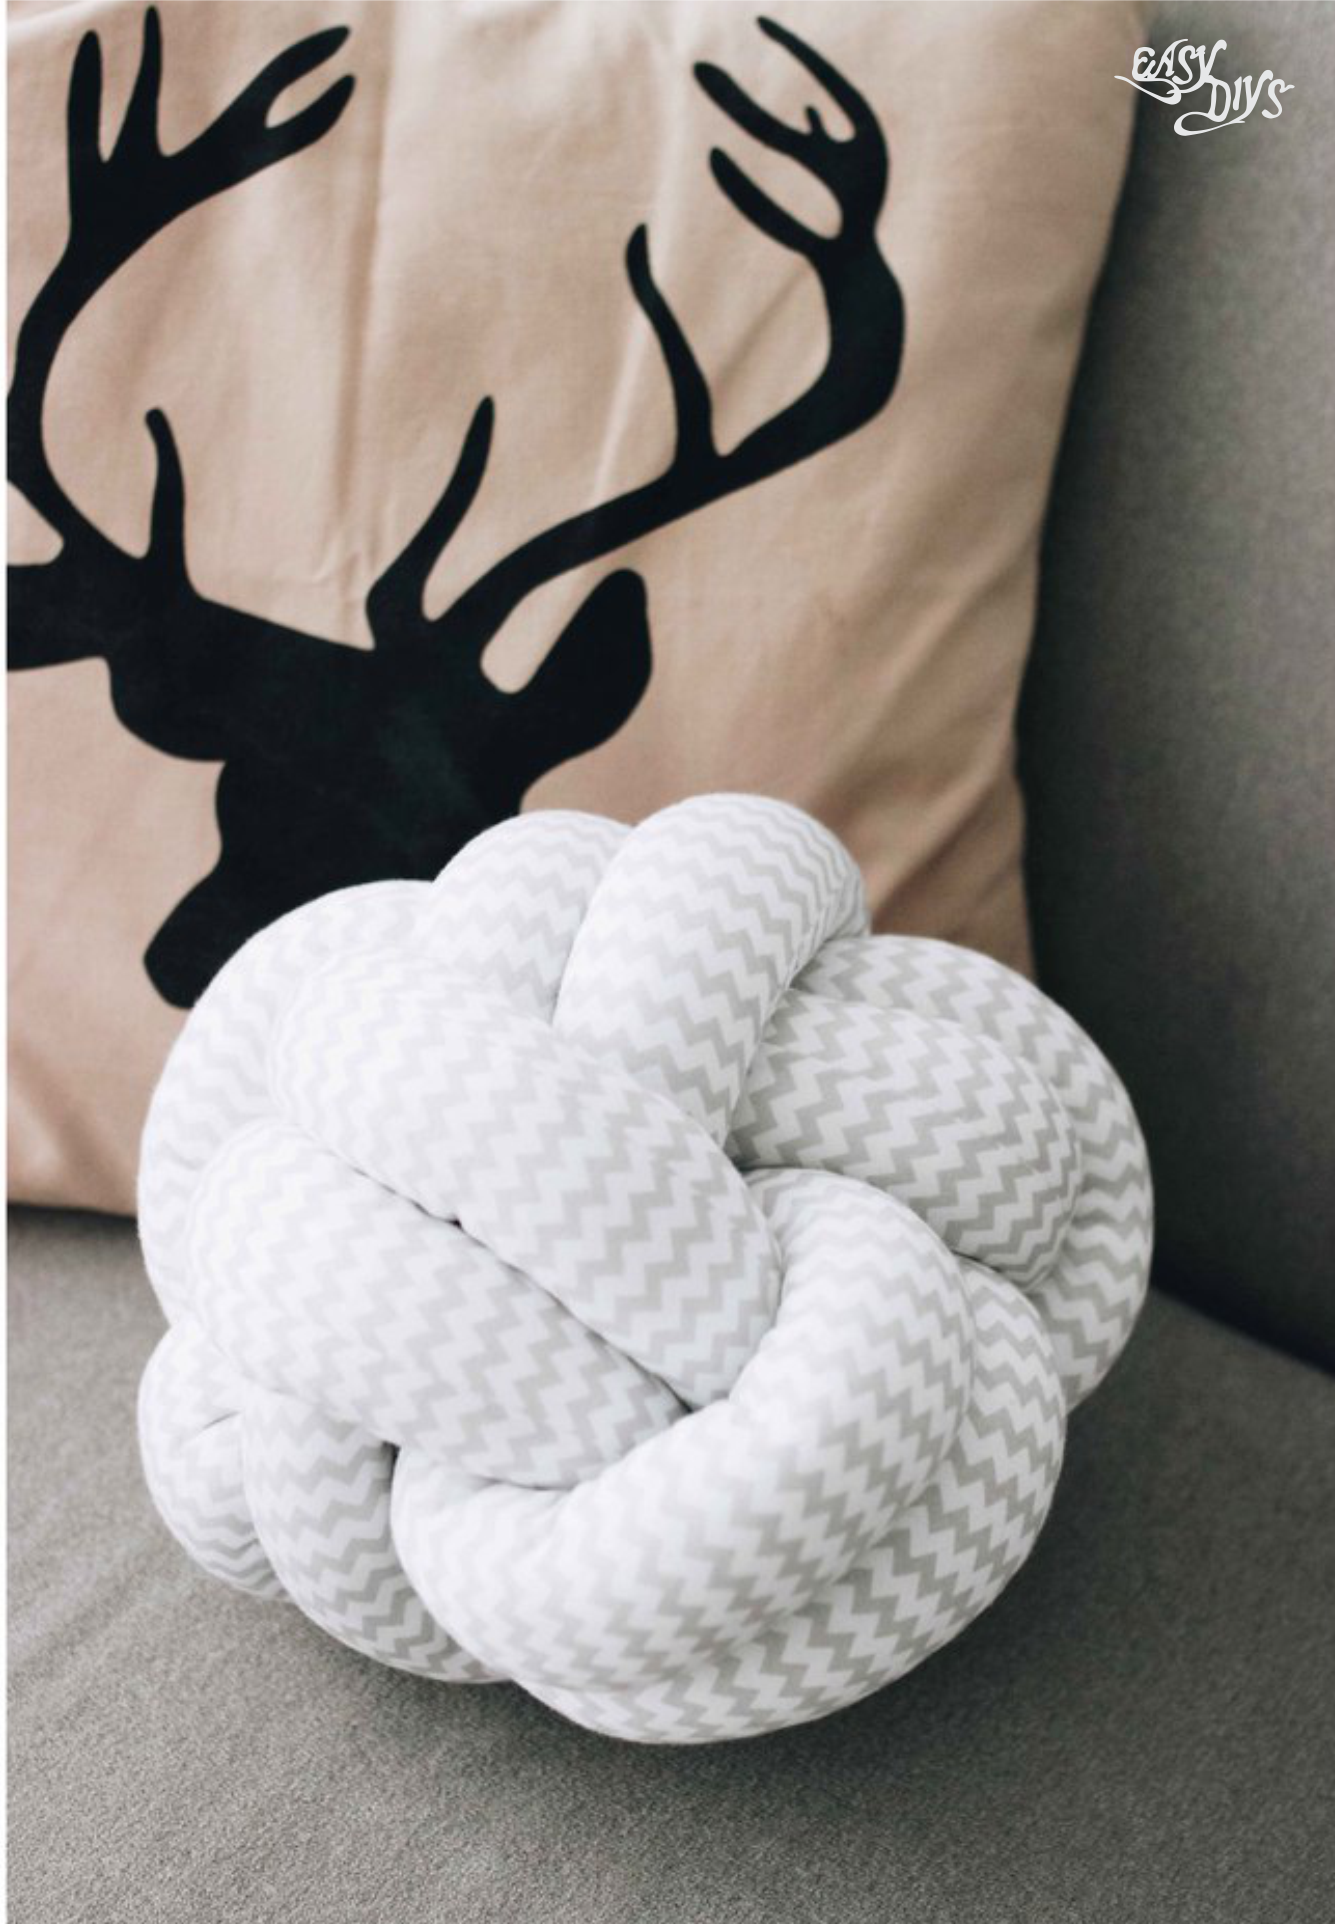
Knot pillows are trendy right now. You will not believe how simple it is to make. This knot pillow DIY version costs a whole lot less than a store bought pillow knot and only takes about an hour to make.
We recently did a mini makeover in our ART studio and added a few DIY projects that included these knot type accent pillows to add texture.
There are many types of DIY pillow knot designs, including traditional celtic knot pillows, but this one is great because it is just plain simple to make.
Knot Pillow DIY Supplies:
Cardboard roll or plastic tube Fiber filling Fabric (Make sure it has a good stretch) Scissors Sewing machine, needle, thread Dowel rodlet’s make a DIY Knot Pillow!
In order to start this project you will need to check out our DIY Celtic Knot Pillow Tutorial. Cut and sew (2 strips) 5 inches (12cm) x 1 yard (92cm) of knit fabric. Once sown, turn the fabric inside over using the empty wrapping paper roll. The process of forming the pillow is like DIY Celtic Knot Pillow tutorial. It’s easy and to make the stuffing a lot of easier, insert the tube into the knit fabric then insert the pillow stuffing with the rod. This type of knot is called Turk’s Head Knot. This is the image I used to make the knot pillow:
Starting with just one fabric sleeve, tie the knot as illustrated above. Once the first sleeve is tied, “trace” the knot you just tied with the 2nd sleeve, by tucking it under and over as needed to make the two sleeves run parallel to one another. After the 2nd sleeve is in, adjust the sleeves so they form a tight knot, and tuck the 4 loose ends back into the pillow so they’re concealed.
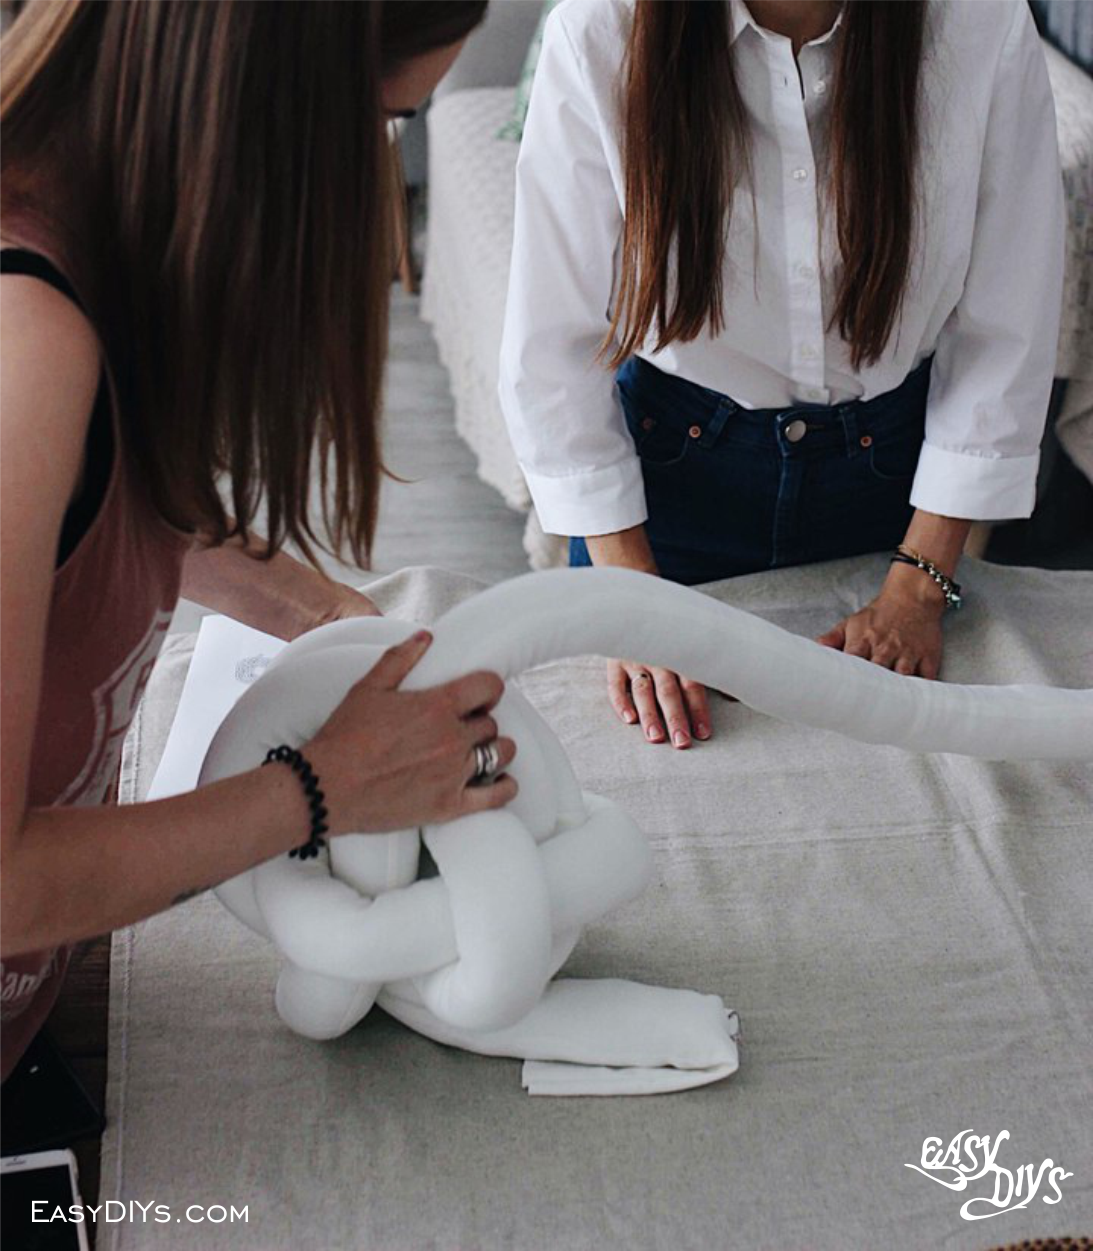
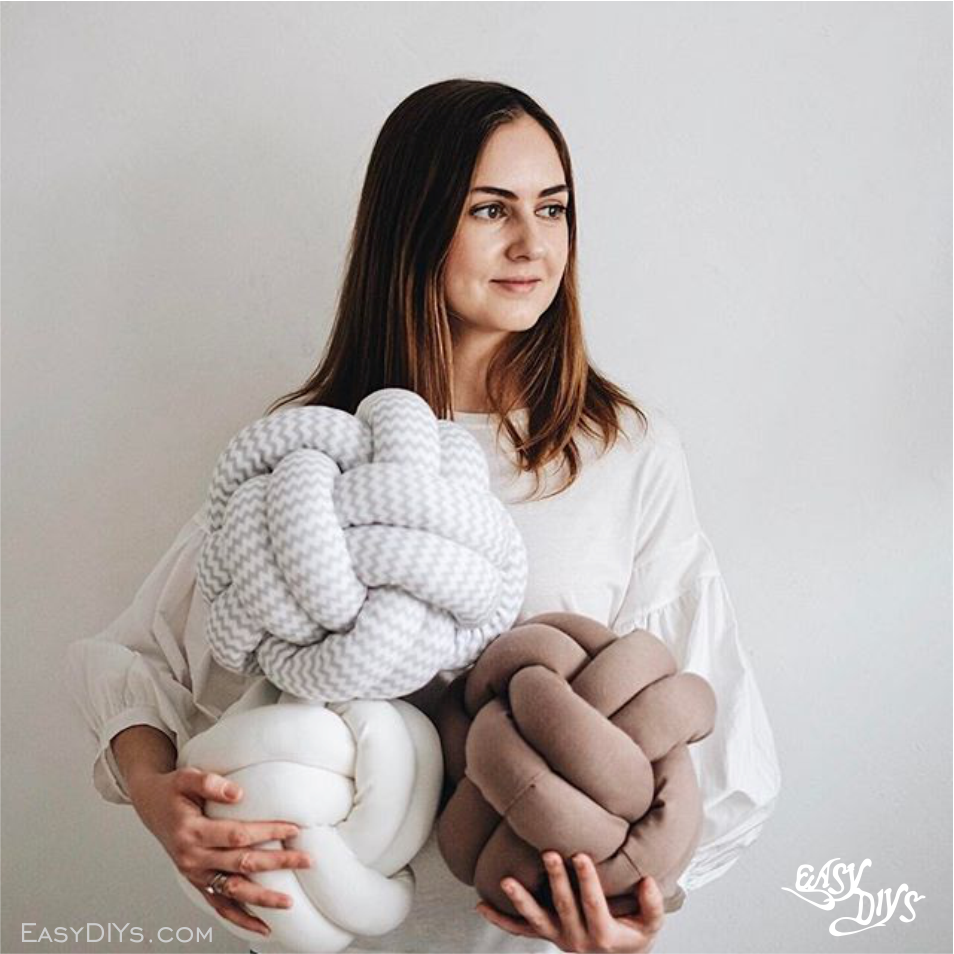
Once you are into step 8, pull the remaining ends and make it tighter to form a ball. Push the ends inside and sew them against the inside. Once you make one knot pillow, you will not stop making them.
![]()

